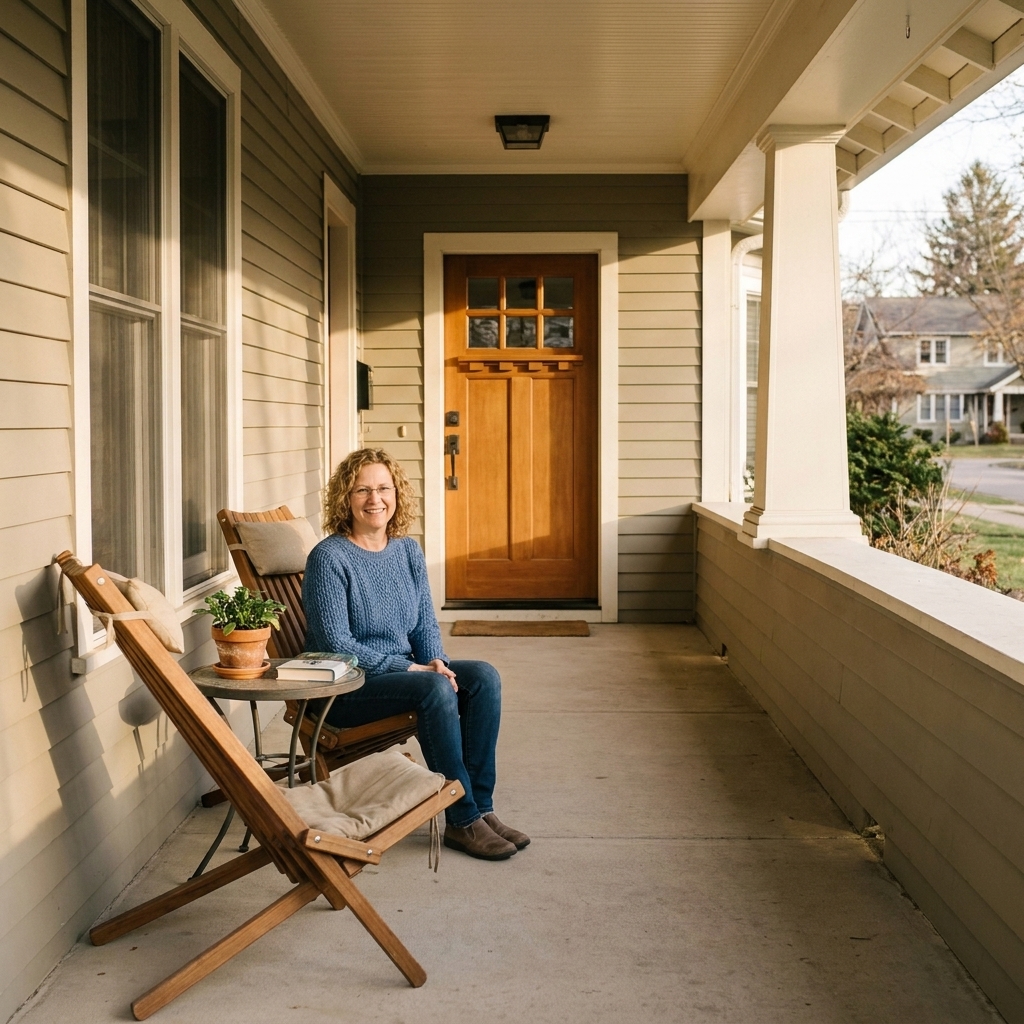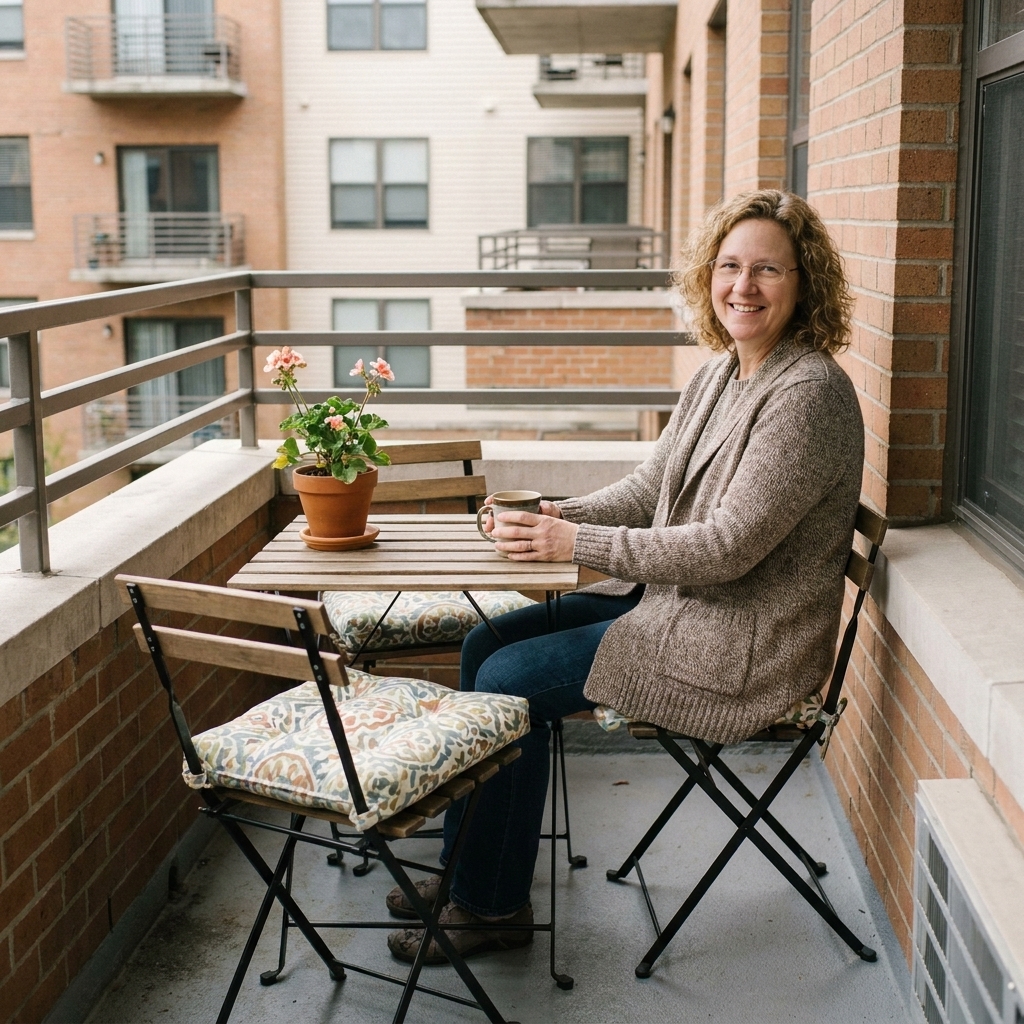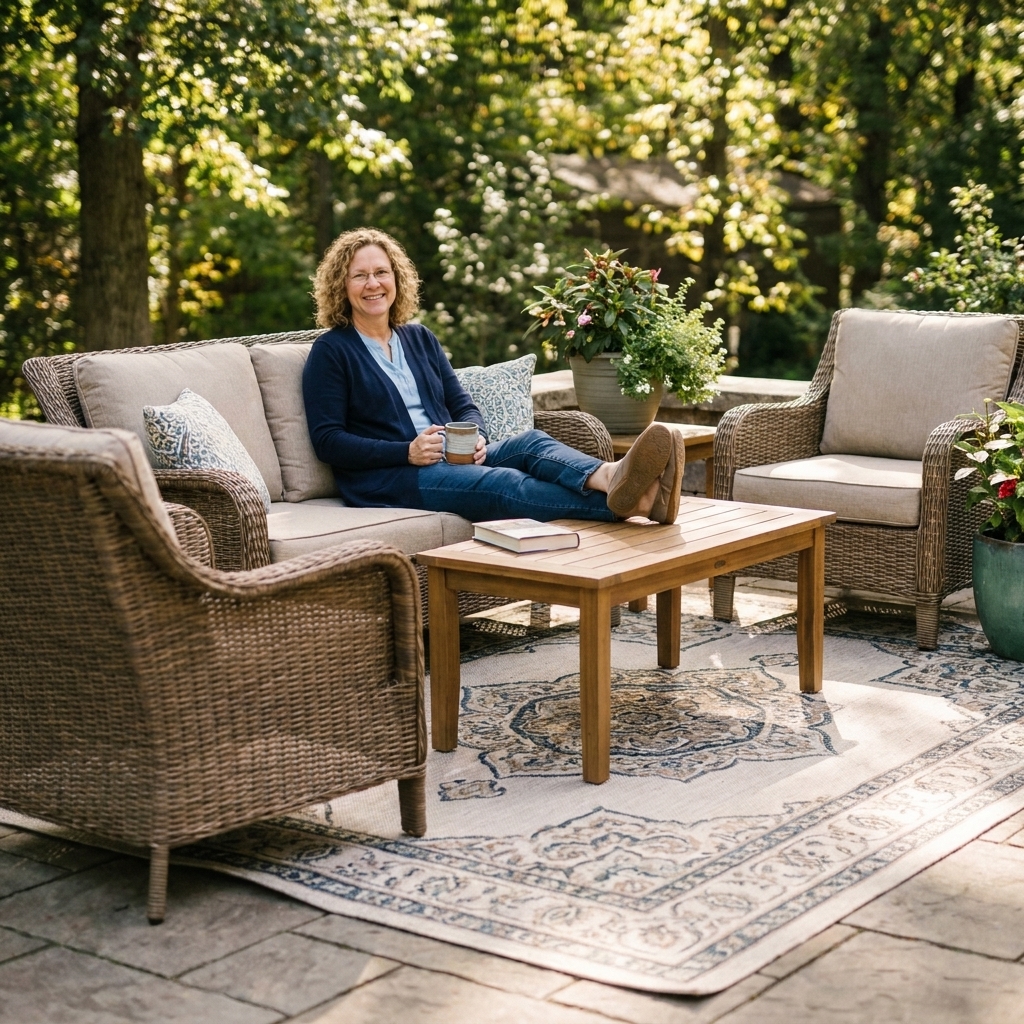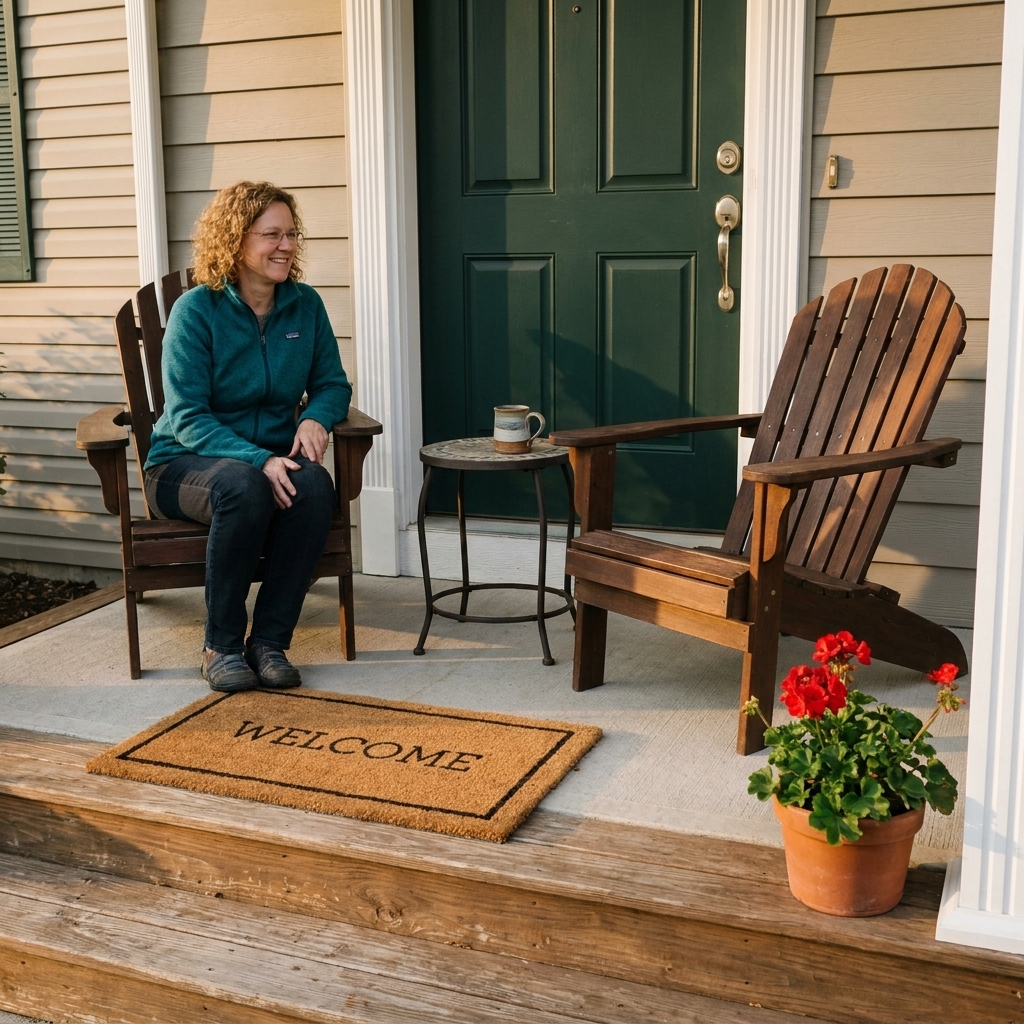
When an outdoor dining area feels “off,” it is almost never the table’s fault. It is the spacing. Chairs can’t slide out, guests have to shimmy past someone’s elbows, and suddenly dinner on the porch feels like rush hour.
The good news: outdoor dining layouts get easy when you measure in the right order. I am going to walk you through the exact clearances you need for tables, chairs, and walkways so your patio or porch feels comfortable, welcoming, and easy to move through.
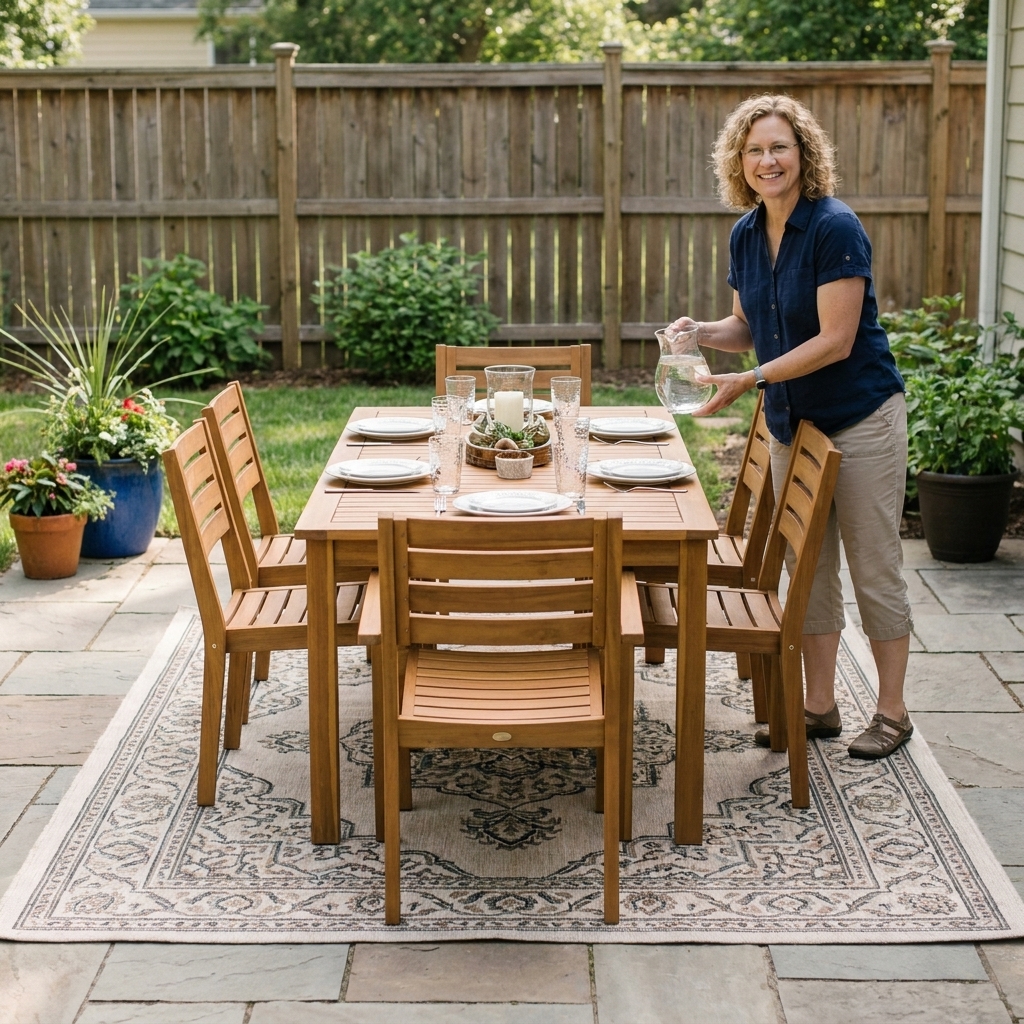
Start with your usable space
Before you pick a table size, measure the area you can truly use for dining. On paper, a patio might be 12 by 14 feet, but the usable zone shrinks fast once you account for doors, steps, grills, planters, and the path people naturally take.
What to measure
- Overall footprint: length and width of the dining zone.
- Door swings: measure how far a patio door opens into the space.
- Obstacles: posts, railings, a fire pit, a grill lid that lifts, or a storage bench that opens.
- Traffic lanes: the most common route from the door to yard, grill, or stairs.
My porch rule: If a door opens into your dining area, keep the area directly in that swing path as open as possible. Nothing is more annoying than a chair that blocks the door every single time.
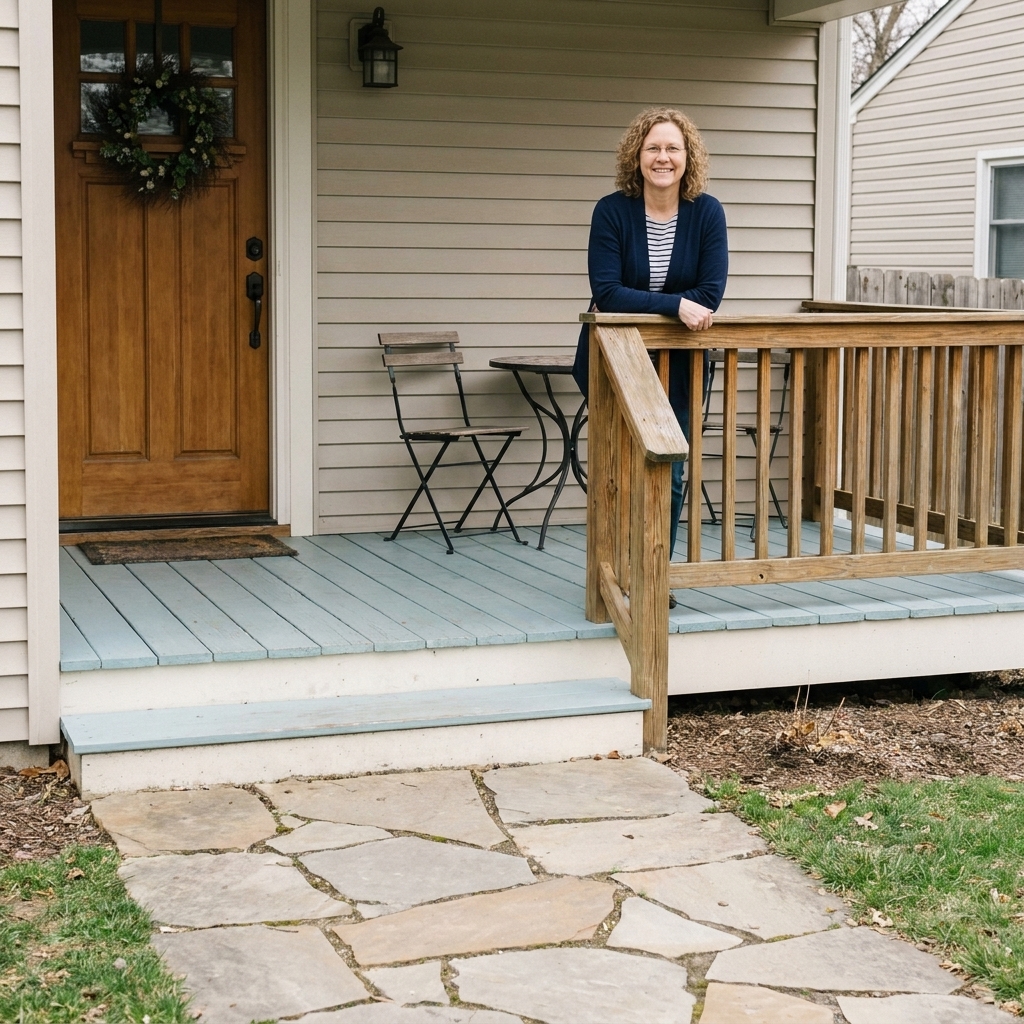
The key clearances
These are the measurements I use every time I plan a dining layout, whether it is a tiny porch bistro moment or a full backyard dinner party setup.
| Spacing need | Minimum | Comfortable | Best for frequent traffic |
|---|---|---|---|
| Clearance from table edge to wall or railing (for sitting and scooting) | 30 in | 36 in | 42 to 48 in |
| Walkway behind seated diners (so people can pass) | 36 in | 42 in | 48 in |
| Main path of travel (door to yard, door to grill) | 36 in | 42 to 48 in | 48+ in |
| Space between table and a door swing | 36 in | 42 in | 48 in |
Quick translation: 30 inches lets a chair pull out. 36 inches feels livable. 42 to 48 inches is what makes a space feel gracious, especially if people walk behind diners.
Measure table plus chairs
The table size is only half the story. What you really need to fit is the table plus the chair pull-out space.
Step by step
- Measure your dining zone. Example: 10 feet by 12 feet (120 in by 144 in).
- Decide where traffic needs to flow. Is there a main walkway on one side? Do people need to pass behind chairs?
- Subtract clearance space first. If you want 36 inches of clearance on both sides, subtract 72 inches from that direction.
- The remaining number is your maximum table footprint in that direction.
A real example
Let’s say your patio dining zone is 10 ft wide (120 inches). You want 36 inches of clearance on the left and right so chairs can slide and people can move.
- 120 in minus 36 in minus 36 in = 48 inches
That means a table that is about 48 inches wide is a comfortable max in that direction.
Maggie tip: When in doubt, size down the table and size up the breathing room. Outdoors, a little open space makes everything feel calmer and more “resort patio,” even on a regular concrete slab.
Chair sizing basics
Outdoor chairs vary wildly. A slim metal café chair behaves totally differently than a chunky resin armchair with a cushion. Do not guess. Measure the actual chair you want or one you already own.
Chair dimensions to check
- Overall width: outside edge to outside edge (especially with arms).
- Depth: front of seat to back of chair.
- Push-back space: how far the chair needs to slide out for someone to stand up easily.
Per-seat spacing
- 24 inches per person: workable minimum (best for armless chairs).
- 26 to 30 inches per person: comfortable for everyday dining.
- 30+ inches per person: ideal if your chairs have arms or big cushions.
If you are using armchairs at the ends of a rectangular table, make sure the table has enough apron clearance and width so arms are not constantly bumping.
Round vs rectangular tables
Shape changes everything. I love a round table on a porch because it softens hard lines and makes conversation easy, but rectangles often squeeze into narrow patios better.
Round tables
- Best when: your space is close to square, or you want easier conversation flow.
- Watch out for: the chair footprint. Chairs around a round table create a larger “bubble” than many people expect.
Rectangular tables
- Best when: your space is a rectangle and you want to keep a clean walkway along one side.
- Watch out for: end clearances. The chair at each end needs pull-out room too.
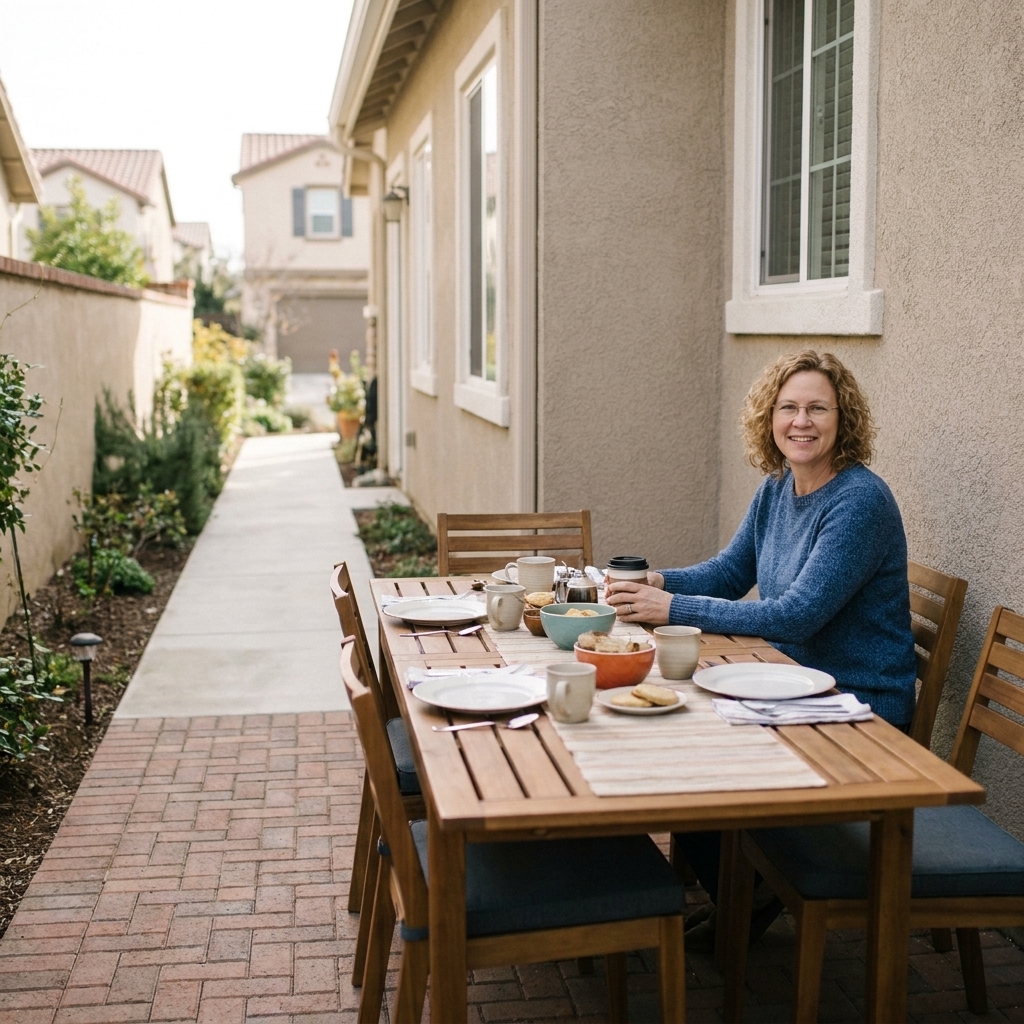
Common layouts
Here are a few real-world layouts I come back to constantly, with the clearances that make them work.
Layout 1: Centered dining set
- Use when: you have space on all sides and want a “room” feeling.
- Target clearance: 36 inches minimum on all sides, 42 inches if people often walk behind chairs.
Layout 2: Shifted to one side
- Use when: you need a main path from the door to the yard or grill.
- Target clearance: 42 to 48 inches on the traffic side, 30 to 36 inches on the low-traffic side.
Layout 3: Bistro set on a porch
- Use when: you are working with a shallow porch or want coffee and dessert seating.
- Target clearance: 30 to 36 inches from table edge to railing, and keep the door zone clear.
Layout 4: Bench on one side
- Use when: you want to maximize seating without needing chair pull-out on every side.
- Target clearance: Still aim for 36 inches on chair sides, but the bench side can be tighter since it does not slide back as far.
Extras that steal inches
This is the part that gets people. You measure for table and chairs, and then you add the fun stuff. Suddenly it feels tight.
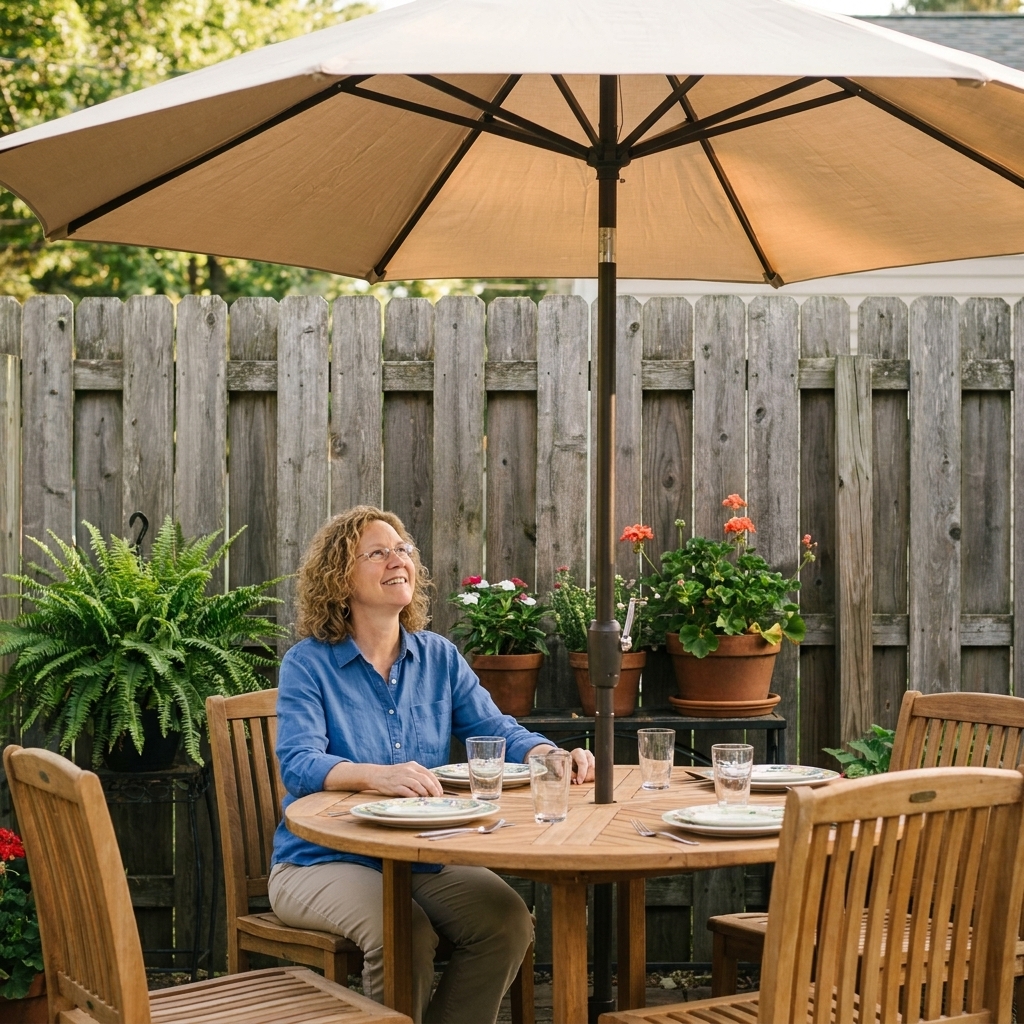
- Umbrella clearance: make sure the canopy can open without hitting a wall, eave, or railing.
- Planters: big pots are beautiful, but they shrink walkways fast. Keep them out of the main traffic lane.
- Outdoor rug border: ideally, chair legs stay on the rug even when pulled out a bit. Choose a rug large enough to extend beyond chair legs.
- Serving zones: if you use a bar cart or sideboard, plan at least 30 to 36 inches in front of it so you can access it without bumping chairs.
Easy measuring tricks
You do not need a design program to get this right. My favorite “try before you buy” method is low-tech and very convincing.
Use painter’s tape
Tape the table footprint on the ground, then tape a second outline that includes the chair pull-out space.
- Table outline: exact table dimensions.
- Chair bubble outline: add 36 inches around the sides where chairs will be used.
Use cardboard or a sheet
If you already have a table top in mind, cut cardboard to the same size or lay out a sheet to mimic it. Then put chairs around it and walk the paths you will actually use.
Test the hands-full walk
Walk around the taped layout carrying something bulky like a laundry basket. If you bump corners now, you will bump them later with a platter of burgers.
Quick size guide
Every space is different, but these are helpful starting points if you are working with a typical porch or patio rectangle. These assume you want a usable clearance zone, not just a barely-fit squeeze.
| Space size | What usually works well | Notes |
|---|---|---|
| 6 ft x 8 ft | Small bistro set (round 24 to 30 in table) | Keep one side open for the walkway |
| 8 ft x 10 ft | Round 36 to 42 in table, or compact rectangle around 30 x 48 in | Skip oversized armchairs |
| 10 ft x 12 ft | Rectangle around 36 x 60 in, or round 48 in | Works best with 42 in traffic lane on one side |
| 12 ft x 14 ft | Rectangle around 40 x 72 in or extendable table | Often comfortable for 6 to 8 with good clearances |
Important: exact fit depends on door placement, railing lines, and whether you need a true pass-behind walkway.
Front porch tips
Front porches are my favorite “outdoor rooms,” but they come with a few layout quirks: railings, posts, and doors that everyone uses.
Porch dining do’s
- Keep the entry path clear. Aim for a 36 to 42 inch open route from the door to the steps.
- Float the dining set away from the railing if possible. That extra breathing room makes the porch feel wider.
- Use a round table to soften tight corners. It is easier to navigate around than a sharp rectangular edge.
Porch dining don’ts
- Do not block the door swing. Even a “just barely” clearance will get old fast.
- Do not assume a bench solves everything. A bench still needs knee room and a comfortable approach.
If your layout feels tight
Problem: Chairs hit the wall or railing
- Switch to armless chairs or slimmer chair frames.
- Consider a pedestal base table so chairs can tuck closer.
- Move the table off-center to gain clearance where you sit most.
Problem: People squeeze behind diners
- Create a dedicated walkway on one side (42 to 48 inches) and tighten the low-traffic side (30 to 36 inches).
- Use a bench on the wall side to reduce pull-out space needs.
Problem: The table is the right size but feels crowded
- Downsize one chair per side, then add a pretty outdoor stool or pouf nearby for flexible seating.
- Choose smaller place settings and keep the centerpiece low and compact.
Measuring checklist
- Measure usable dining zone (account for doors, posts, grill, steps).
- Choose where your main traffic path will go.
- Plan for 30 inches minimum from table edge to wall or railing, 36 inches preferred.
- Plan for 36 inches minimum behind seated diners, 42 to 48 inches for frequent passing.
- Confirm chair width and depth, especially if chairs have arms.
- Tape out the table footprint and the chair pull-out “bubble” before buying.
If you want the easiest win, here it is: give yourself more walkway than you think you need. Outdoors, that extra space reads as relaxed and generous, even if the furniture is budget-friendly and thrifted. And that is exactly the Porch Lush sweet spot.