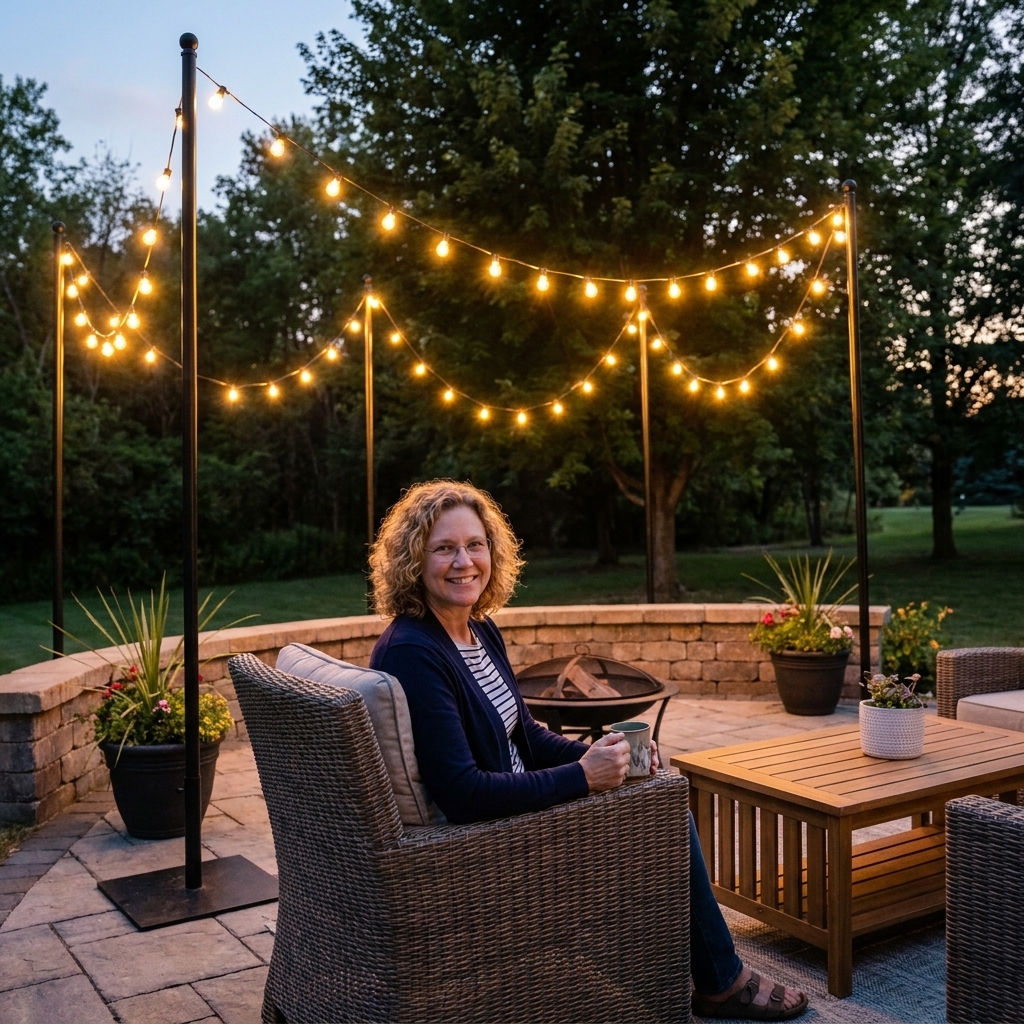
My front porch has always felt like the real front door of the house, not just the place you wipe your shoes. And lighting is what makes it feel that way after sunset. One bright bulb by the door will technically help you find your key, but it rarely makes your entry look inviting, and it can leave dark corners that feel less safe than they should.
The fix is simple and honestly kind of fun: layer your lighting. Think of it like styling a cozy living room. You want a main light for general glow, task light where you actually do things (steps, locks, house numbers), and soft accents that make everything look intentional.
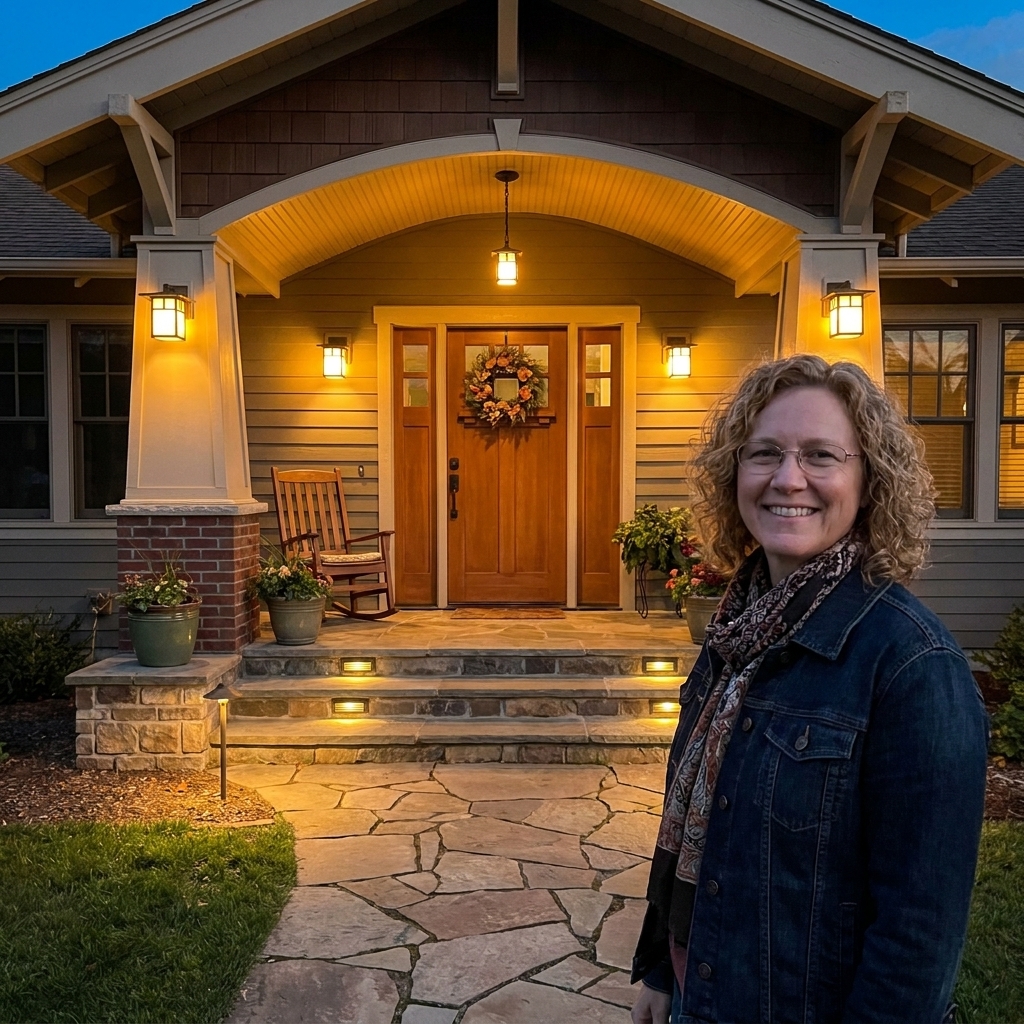
What layered lighting means
Layering just means you are using more than one light source, at different heights, for different jobs. Done well, it gives you two big wins:
- Curb appeal: Your entry looks balanced and warm, not harsh or spotty.
- Safety and security: You can see steps, trip hazards, locks, and faces clearly. Dark hiding spots get less inviting.
On a typical front entry, your layers usually look like this:
- Ambient: an overhead porch light (pendant, semi-flush, flush mount) for general glow.
- Task: wall sconces near the door, plus step lights, riser lights, or shielded path lights aimed downward.
- Accent: subtle lighting on landscaping, columns, or house numbers for polish.
Do a quick check
Before you buy anything, do a quick evening walk-up. I like to stand where a guest would park, then walk to the door slowly and look for these common issues:
- Glare at eye level: clear bulbs or fixtures that shine straight out can be uncomfortable and make it harder to see.
- Dark steps: if you have stairs, this is often the first place to add light.
- Shadowy corners: especially behind columns, planters, porch swings, and railings.
- Door hardware is hard to see: if you fumble with keys, your lighting is not doing its job.
- House numbers disappear: deliveries and guests need to spot them quickly.
This little audit tells you which layer is missing, so you are not throwing money at the wrong fixture.
Layer 1: Wall sconces
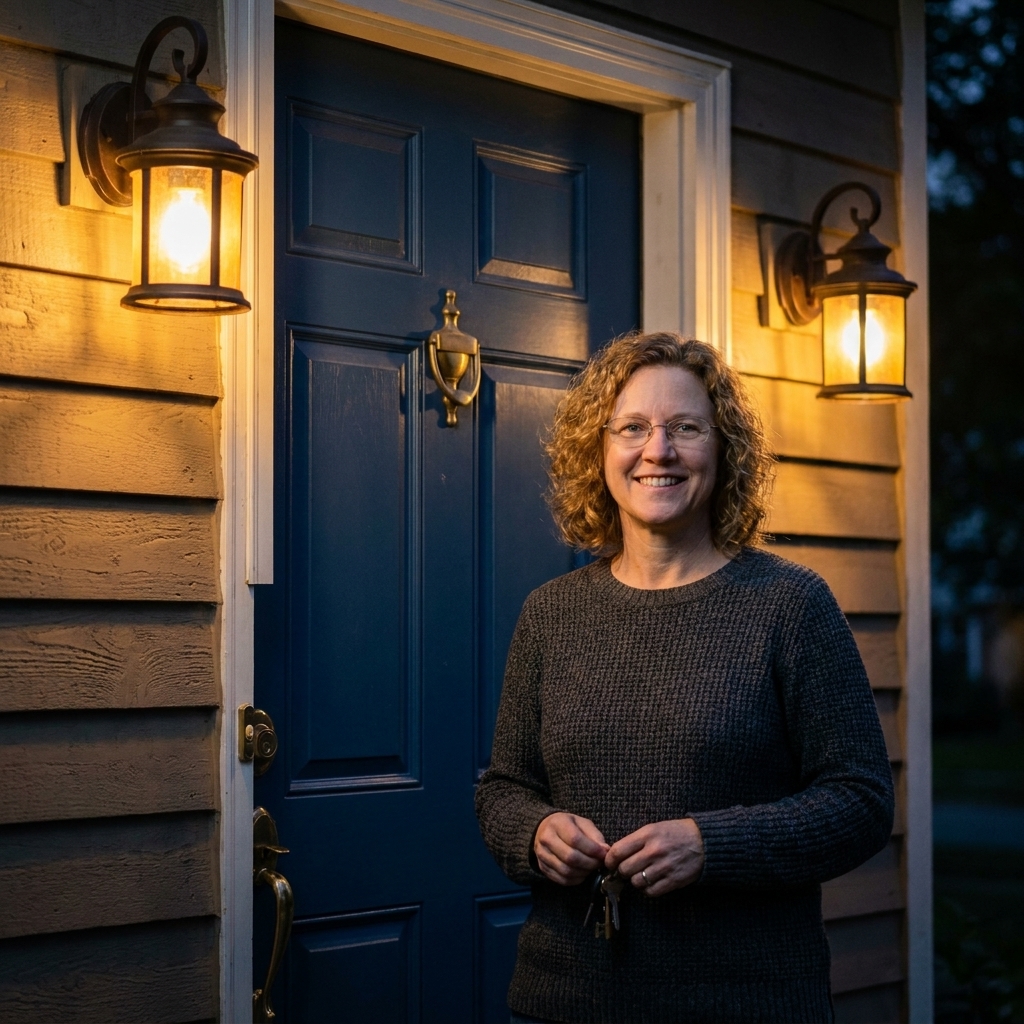
If you add only one thing beyond the basic porch light, make it wall sconces. They are the easiest way to make an entry look finished, and they light the most important zone: the area around the door where people stand.
Where to place sconces
- Best case: one sconce on each side of the door, roughly at eye level.
- If your door is tight to a wall: do one sconce on the latch side if possible, and rely on the overhead fixture plus step lighting to fill in.
- Height: a common starting point is the fixture center around 60 to 66 inches from the ground, but adjust for your door height, porch ceiling, and sightlines.
A size guide that helps
Most front-porch lighting looks off because the sconces are too small. A practical starting guideline: choose sconces about one quarter to one third the height of your front door. With an 80-inch door, that often lands around 20 to 27 inches tall. If you have narrow trim, sidelights, or a tight mounting area, go smaller and prioritize breathing room.
Pick friendly, not blinding
Look for shielded fixtures or frosted glass that softens the bulb. You want enough light to recognize a face, not a spotlight that creates harsh shadows.
Layer 2: Overhead light
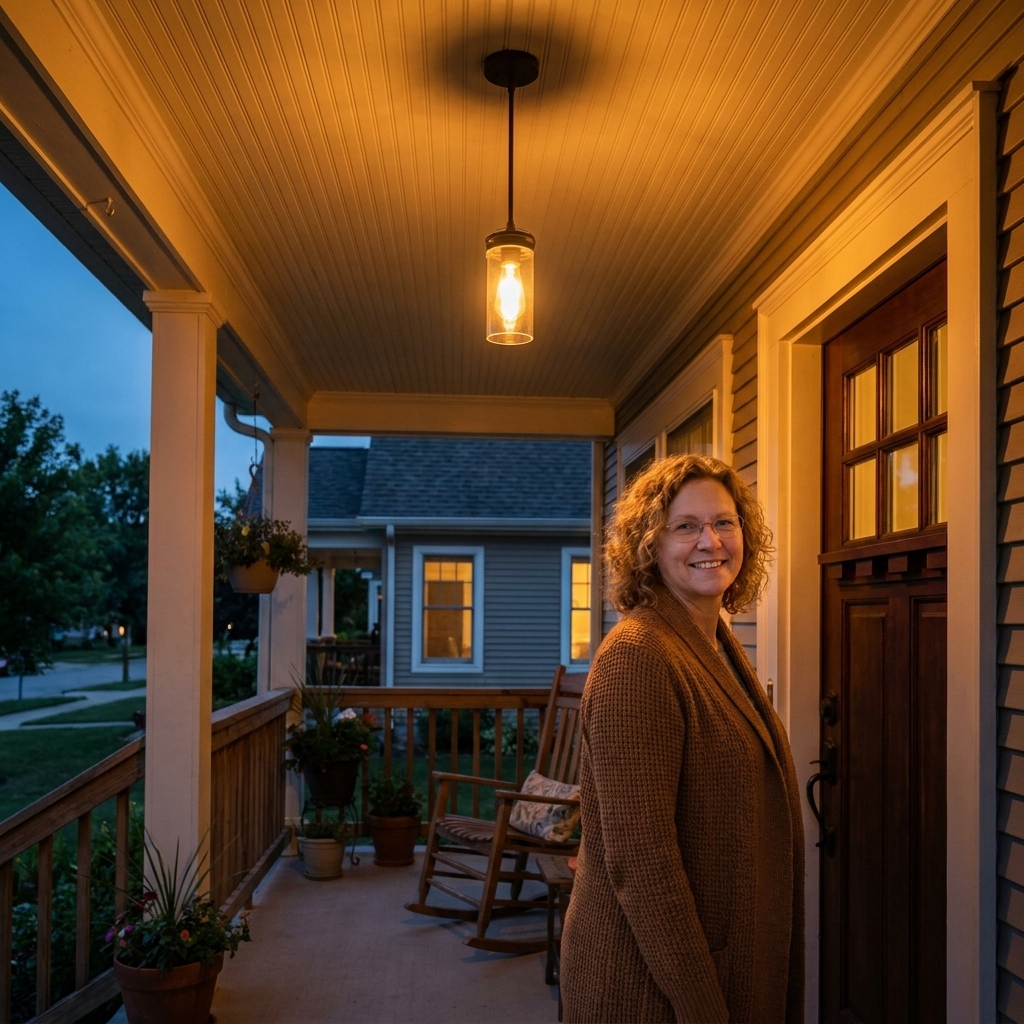
Your overhead light is the ceiling light of the porch. It ties everything together, fills in the middle, and helps guests orient themselves as they approach the door.
Choosing the right overhead style
- Pendant: great if you have enough ceiling height and want a statement piece.
- Semi-flush mount: perfect for lower ceilings or covered stoops where head clearance is limited.
- Flush mount: best when you need a clean, compact fixture that does not hang down.
Hang it at a safe height
For pendants, keep the bottom of the fixture high enough that nobody bumps it, especially near steps. If your porch ceiling is low, a semi-flush or flush mount is usually the safer choice.
Keep the light warm
For most homes, 2700K to 3000K looks cozy and flattering. Anything much cooler can feel stark, and it tends to make landscaping and brick look washed out.
Layer 3: Steps and path
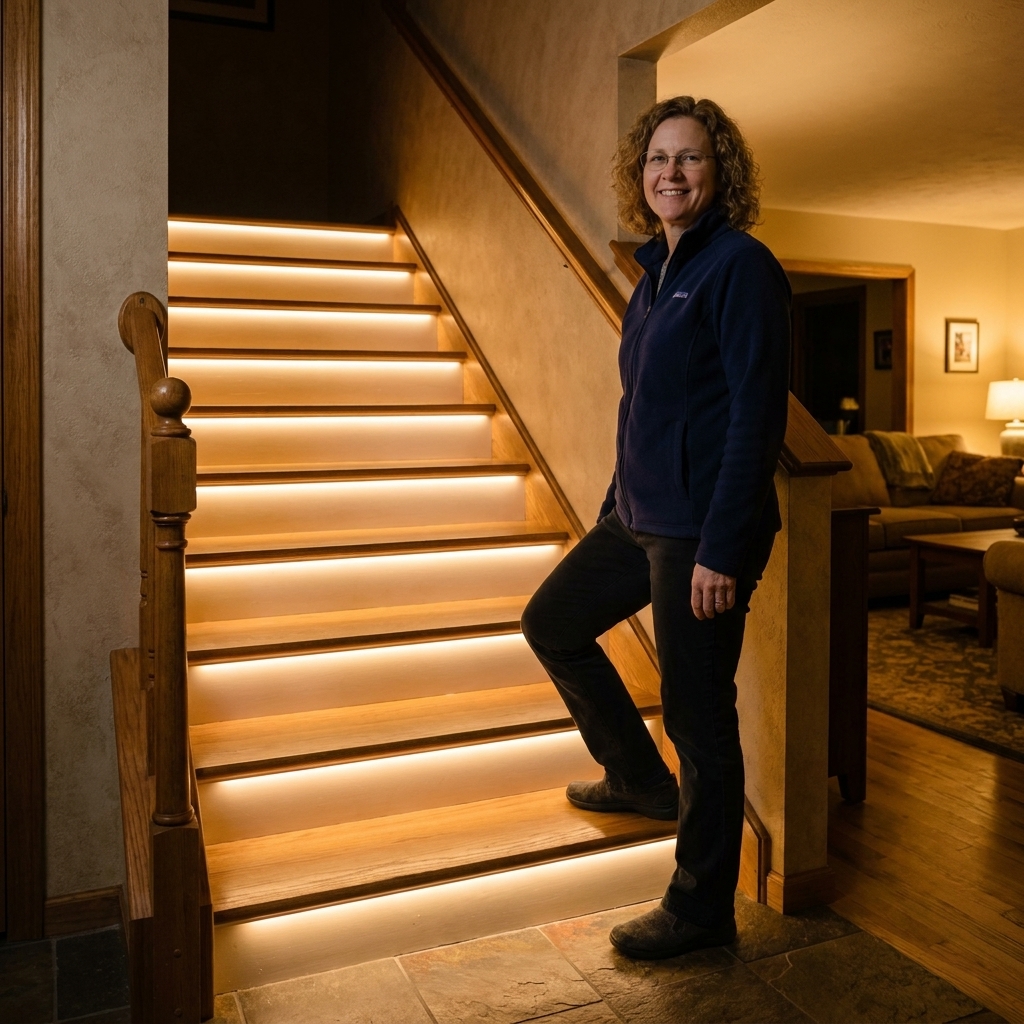
If you have steps, uneven pavers, or a long walkway, this layer is your best friend. Step and path lights are not just decorative. They prevent falls, help guests feel confident, and make your entry look professionally finished.
Options that look polished
- Recessed step lights: built into stair risers or side walls for a clean look.
- Low-voltage path lights: spaced along the walkway to guide the approach.
- Solar step or path lights: a budget-friendly option, best in sunny locations with good exposure.
Placement tips that work
- Light the edges: the goal is to show where the surface changes, not blast light into your eyes.
- Stagger path lights: alternating sides often looks more natural than a perfectly symmetrical runway.
- Avoid airport lighting: fewer, better placed fixtures usually look more upscale than a ton of tiny bright dots.
If you are improving security, this layer matters because it reduces shadows along the approach to the house. And when you do add motion-activated light, having a softer baseline glow around the entry makes that extra brightness feel less jarring.
Layer 4: Accent lighting
This is the layer that makes neighbors slow down on evening walks. Accent lighting is not required, but it is the secret to that welcoming, cared-for look.
Easy accents that matter
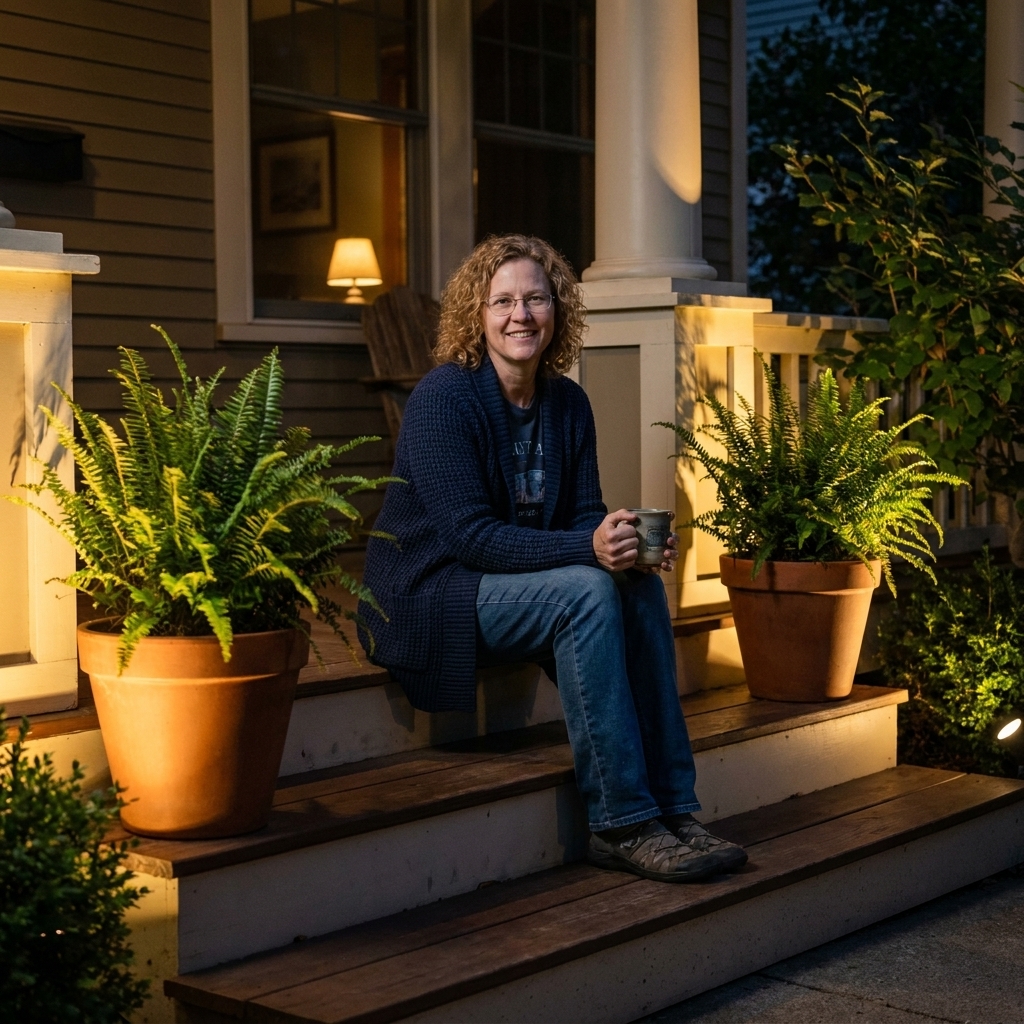
- Uplights on small trees or tall planters: especially pretty if you have a pair of planters flanking the steps.
- Downlighting from eaves: a soft wash of light on the facade can feel elegant and secure.
- House number lighting: either a dedicated number light or a nearby sconce positioned so it naturally illuminates the numbers from the front or side.
Keep this layer subtle. Accents should whisper, not shout.
Brightness and bulbs
This is where people get overwhelmed, so here is my porch-friendly cheat sheet. Treat these as flexible ranges. Fixture design, mounting height, shielding, and how dark your surroundings are all change what feels right.
Rough lumen ranges
- Wall sconces: about 600 to 1,000 lumens each. If you only have one sconce, you may prefer the higher end.
- Overhead fixture: about 400 to 800 lumens as a softer fill.
- Step and path lights: about 50 to 200 lumens per fixture, aimed at the ground.
If your fixtures allow it, dimmable is the easiest way to dial in comfort without swapping bulbs endlessly.
Choose a consistent color temperature
- Warm and cozy: 2700K
- Warm-white but a touch crisper: 3000K
Try not to mix temperatures right next to each other. A cool overhead light with warm sconces can make the porch look mismatched and a little off, even if you cannot explain why.
My go-to bulb features
- LED for efficiency and longevity
- High color rendering so your paint color and plants look true
- Enclosed-fixture rated bulbs when your fixture is sealed or labeled as enclosed, so the bulb does not overheat and burn out early
Glare and neighbors
A porch can be bright enough to feel safe without shining into someone else’s living room. A few small choices make a big difference:
- Aim light down: choose fixtures that direct light toward the porch floor, steps, and path.
- Shield the bulb: less glare means better visibility and a more welcoming look.
- Skip blue-white security vibes: warm light is easier on the eyes and still reads as secure when it is consistent and well placed.
Controls and security
Lighting is part decor, part peace of mind. The best front porch setup is one you do not have to think about.
Control combos I like
- Dusk-to-dawn photocell: turns on automatically each evening. Great for sconces.
- Motion sensor: best for the approach, side yard, or garage area. If you use it at the front door, pick one with adjustable sensitivity and time settings, and aim it carefully so it catches visitors without triggering on every passing car.
- Smart switches or smart bulbs: schedules, dimming, and vacation modes are fantastic for security and convenience.
A simple strategy: keep sconces on a dusk-to-dawn schedule for consistent welcome, then use motion lighting to add a brighter layer only when someone approaches.
Installation basics
A few practical notes before you start swapping fixtures:
- Use the right rating: covered porches are often damp-location areas. Fully exposed fixtures need wet-location ratings.
- Know when to call an electrician: if you are adding new boxes, running new wiring, or you find old or damaged wiring, it is worth hiring a pro.
- Low-voltage path lights: plan where the transformer will live, and keep connections protected and accessible.
- Avoid cords across walking areas: it is a trip hazard and it tends to look temporary fast.
Keep it cohesive
Layering works best when it feels intentional. You do not need a perfectly matched set, but you do want the fixtures to look like they belong to the same home.
Three easy ways to match
- Match finishes: black with black, bronze with bronze, or nickel with nickel.
- Match shapes: for example, lantern-style sconces with a lantern pendant.
- Match the vibe: modern, coastal, farmhouse, traditional. Pick one direction and stick to it.
And a little porch-living tip from my own trial and error: if your door hardware is oil-rubbed bronze and your lights are bright chrome, it can clash more than you expect. Choosing a finish that plays nicely with the doorknob and house numbers instantly looks more pulled together.
Common mistakes
- One tiny light by the door: add sconces or a larger overhead fixture so the entry reads as balanced.
- Too bright, too much glare: switch to softer bulbs, add dimming, choose a shielded fixture, or aim light down.
- Dark steps: install step lights or low path lights aimed at the walking surface.
- Mixed bulb colors: standardize on 2700K or 3000K across the porch.
- Lights that never turn on: use a photocell, timer, or smart schedule so your porch looks welcoming every night.
Simple lighting plans
Small stoop
- One semi-flush overhead fixture
- One wall sconce if you have space on the latch side
- Two low path lights near the steps or walkway edge
Covered porch
- Overhead pendant centered near the door
- Two matching wall sconces
- Step lights or path lights to the sidewalk
- Optional uplight on a planter or small tree
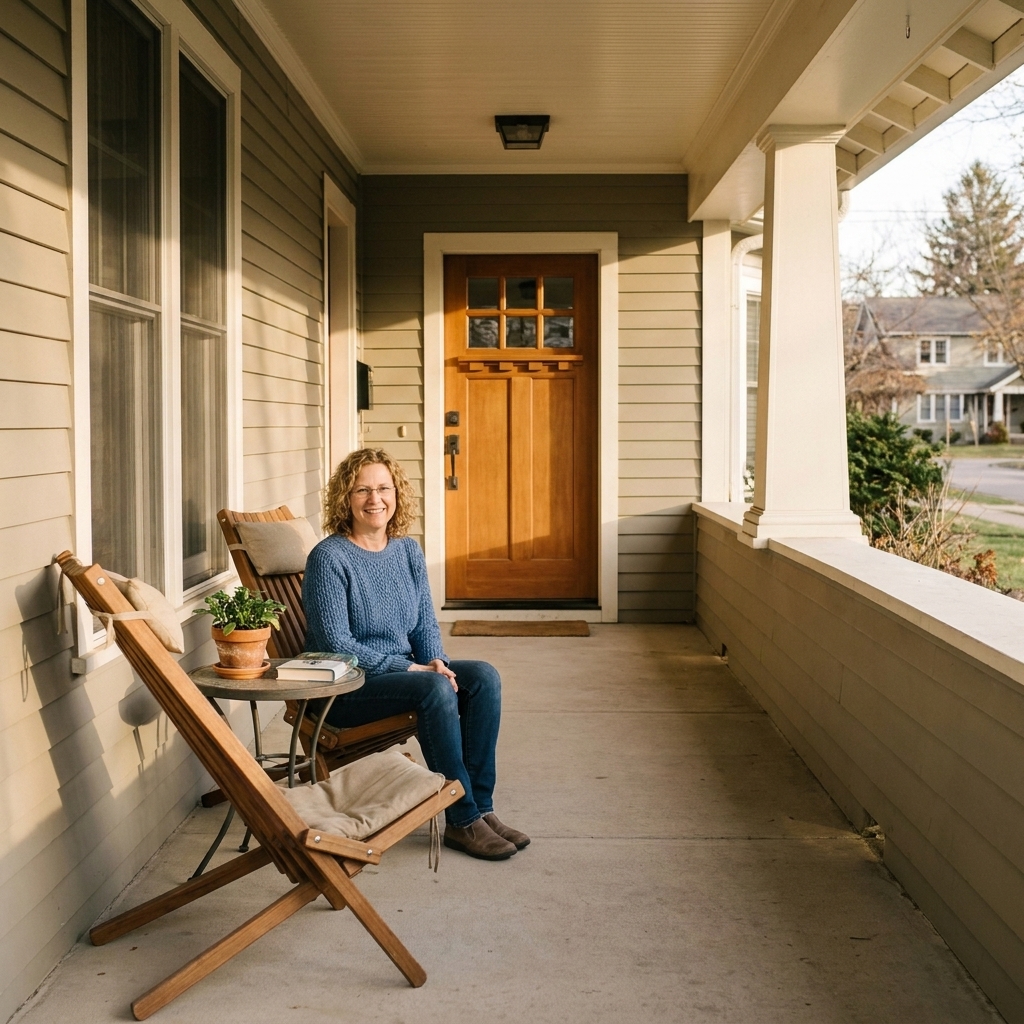
Long porch with seating
- Overhead fixtures spaced along the ceiling for even ambient light
- Sconces at the entry zone
- Pathway lighting along the approach
- Accent lighting near seating, like a soft uplight on a large planter
Quick FAQ
Is it better to keep porch lights on all night?
For most homes, having sconces on a dusk-to-dawn schedule is a solid blend of hospitality and security. If you are concerned about brightness, choose warm LEDs and add dimming.
Do I need both an overhead light and sconces?
You do not need both, but together they create a more even, flattering light. The overhead fixture fills in, while sconces handle faces and the lock area.
Are solar path lights worth it?
They can be, especially for rentals or quick curb-appeal upgrades. Choose sturdier fixtures, place them where they get real sun, and expect to replace them sooner than wired low-voltage options.
How should I light house numbers?
Make the numbers high-contrast against the background and light them from above or the side so they are easy to read. Backlighting can look cool, but it sometimes reduces legibility from the street.
What color temperature looks best for curb appeal?
Warm white, usually 2700K to 3000K. It is welcoming, flattering, and it makes wood, brick, and greenery look richer.
Final pep talk
If your front entry feels a little flat at night, it is rarely because you picked the wrong fixture. It is usually because you only have one layer doing all the work. Add a second source, then a third where you need safe footing, and you will be amazed how quickly your porch starts to feel like an invitation instead of an afterthought.
And if you want the simplest place to start tonight: swap to a warm bulb, clean your fixture glass, and stand back at the sidewalk. A well-lit porch has this gentle way of saying, Come on up, you are welcome here.