If your patio or deck is wide open with no trees in sight, you are in good company. Many newer builds, townhomes, and rooftop-style decks are basically beautiful blank slates. The trick is giving your string lights something sturdy to hold onto, so they stay put through wind, weather, and real life.
Below are my favorite tried-and-true methods, with simple steps, shopping notes, and little “learned it the hard way” tips so your lights look dreamy and feel safe.
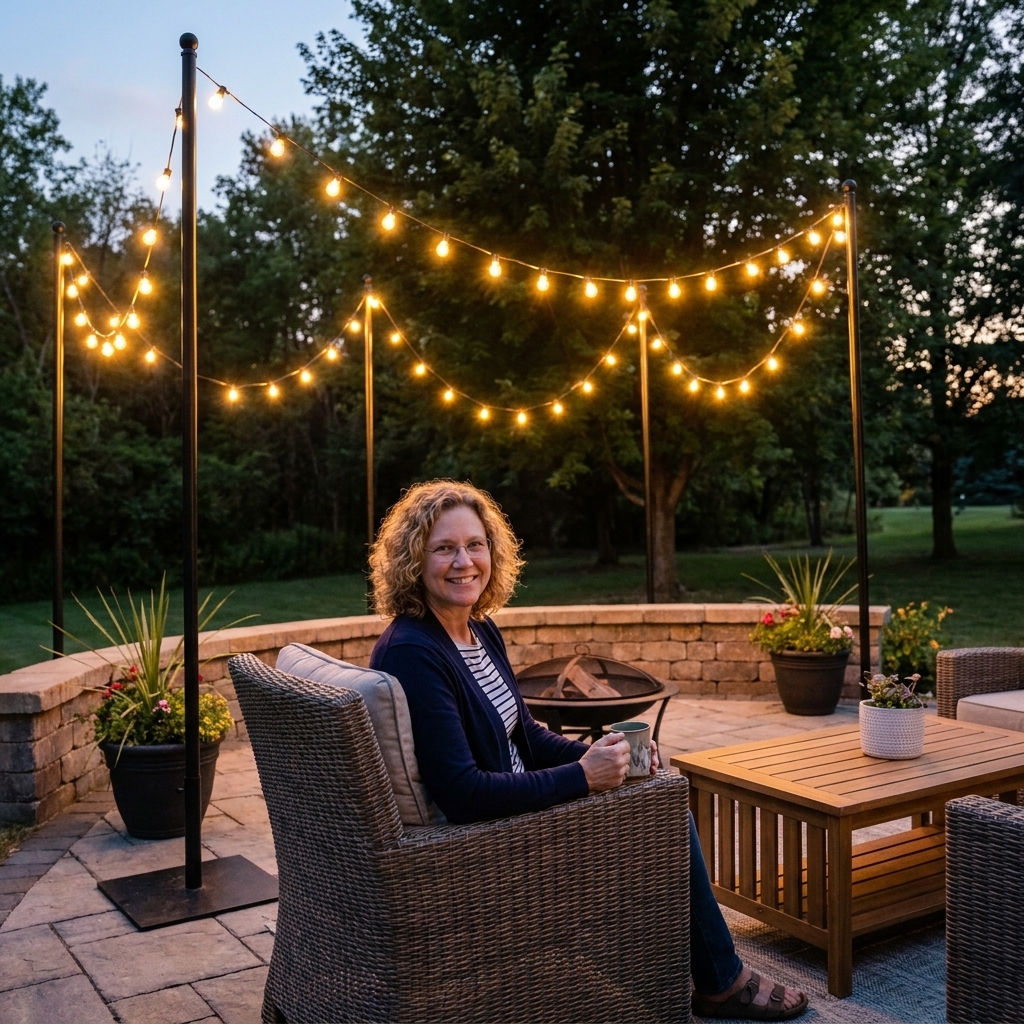
Before you start: plan your layout
A few minutes of planning saves a whole lot of ladder shuffling.
Pick a shape that fits your space
- Perimeter outline: Lights run around the edge of the deck or patio. Clean, modern, and easy to support.
- Zigzag canopy: A classic bistro look that fills the space with sparkle.
- Single sweep: One or two runs across a smaller porch. Quick and charming.
- Center hub: Lights radiate from one central point to corners. Works best when you have a strong central mount point.
Measure and choose the right lights
- Length: Plan on about 10 to 15 percent extra for drape and routing to the outlet.
- Bulb type: LED is lighter, cooler to the touch, and typically longer lasting, but lifespan still varies by brand and build quality.
- Rating: Look for outdoor-rated strings and outdoor-rated extension cords.
- Connectability: Check the maximum number of strands you can link, and follow the manufacturer’s guidance on total wattage.
Safety check (quick but important)
- Use a GFCI outlet or a GFCI adapter outdoors.
- Keep plugs and connections off the ground and sheltered from pooling water.
- Avoid running cords where people walk. If you must, use a cord cover.
- Do not rely on “flimsy” hardware for tension, like adhesive hooks, tiny cup hooks in soft trim, or screws set into thin fascia. Use anchors that can actually carry the load.
- Do a quick load check: confirm you are not exceeding your light set’s max link count, total wattage/amp limits, or the circuit rating, especially if you also run patio heaters or a grill rotisserie on the same circuit.
Method 1: Weighted planters with poles
This is the method I use most often because it is sturdy, flexible, and pretty. The planters double as decor, and you can shift the layout later without drilling into your home.
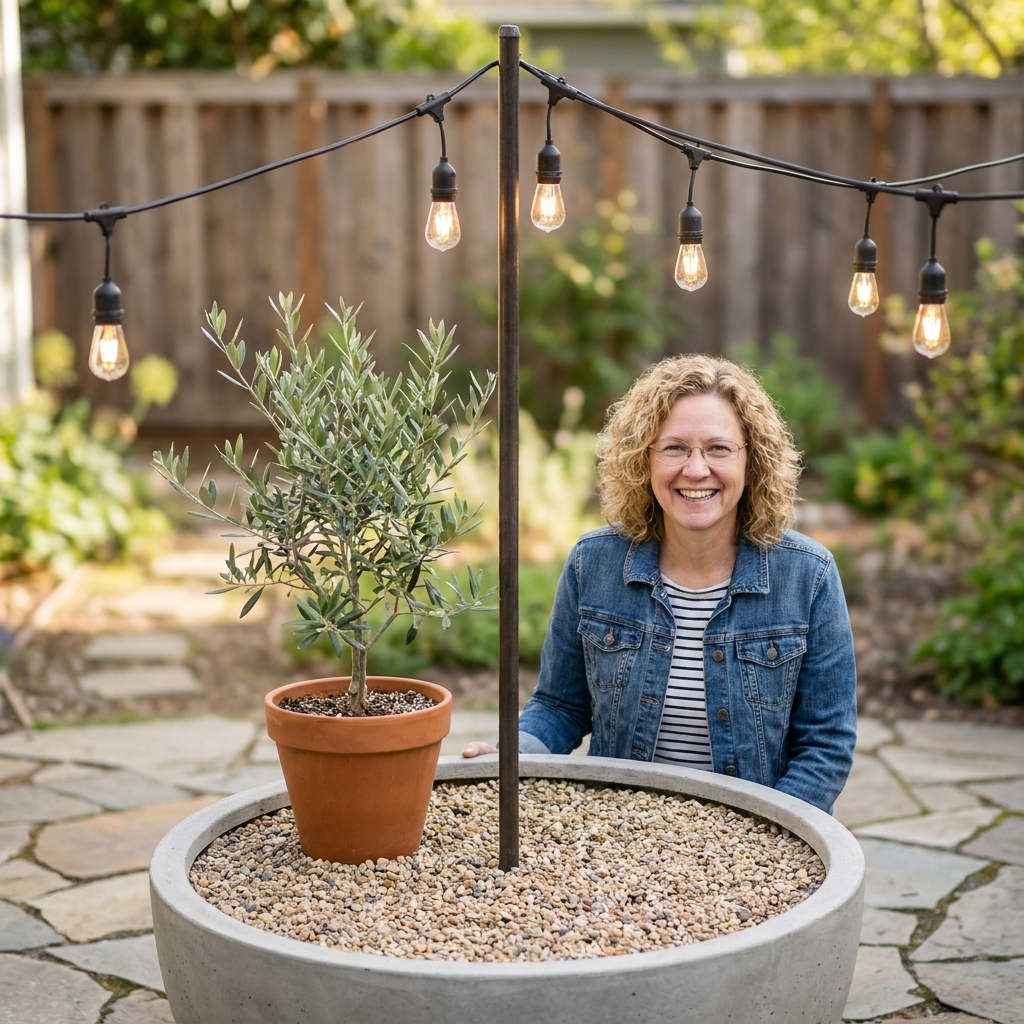
What you need
- 2 to 4 large, heavy planters (bigger is better)
- 2 to 4 metal poles (steel or galvanized, often 8 to 10 feet)
- Quick-set concrete or a gravel and paver base (more on this below)
- Eye bolts or a top-mounted hook system for each pole
- Carabiners or screw links (for easy removal)
- Outdoor string lights
- Ladder, level, wrench, and gloves
Step-by-step
- Choose planter placement. I like corners of the seating area, about 1 to 2 feet outside traffic paths so nobody clotheslines themselves on a bulb.
- Add weight first. For the most secure setup, set the pole into quick-set concrete in the bottom of the planter. A good target is 6 to 10 inches of concrete, or enough to lock the pole base in place. Let it cure per the bag instructions before you put any tension on it. If you prefer a “move it later” approach, use layers: heavy pavers or bricks at the bottom, then gravel packed tight.
- Set the pole. Center the pole and use a level to keep it straight. If you used concrete, brace the pole so it stays plumb while curing.
- Top hardware. Install an eye bolt near the top of each pole (or use a pole cap with a hook). I prefer a closed eye plus a carabiner so lights can be taken down for storms or winter storage.
- Hang the lights with gentle drape. Start at the outlet end and work outward. Keep enough sag for a cozy look, but not so much that bulbs swing into faces.
- Fine-tune tension. If your lights look too tight, add a bit more slack. If they look droopy, raise the attachment point or shorten the run.
My stability tips
- Planter size matters. For 8 to 10 foot poles, choose planters that are wide and heavy. A tall, skinny planter is more likely to tip.
- Pick the right material. Not every planter is happy about serious weight and weather. If you have freeze and thaw seasons, choose planters rated for outdoor use (many lightweight resin planters can crack). If you use concrete, make sure the planter has drainage and avoid letting water pool around the base.
- Windy yard? Add more weight than you think you need, and keep runs shorter between poles.
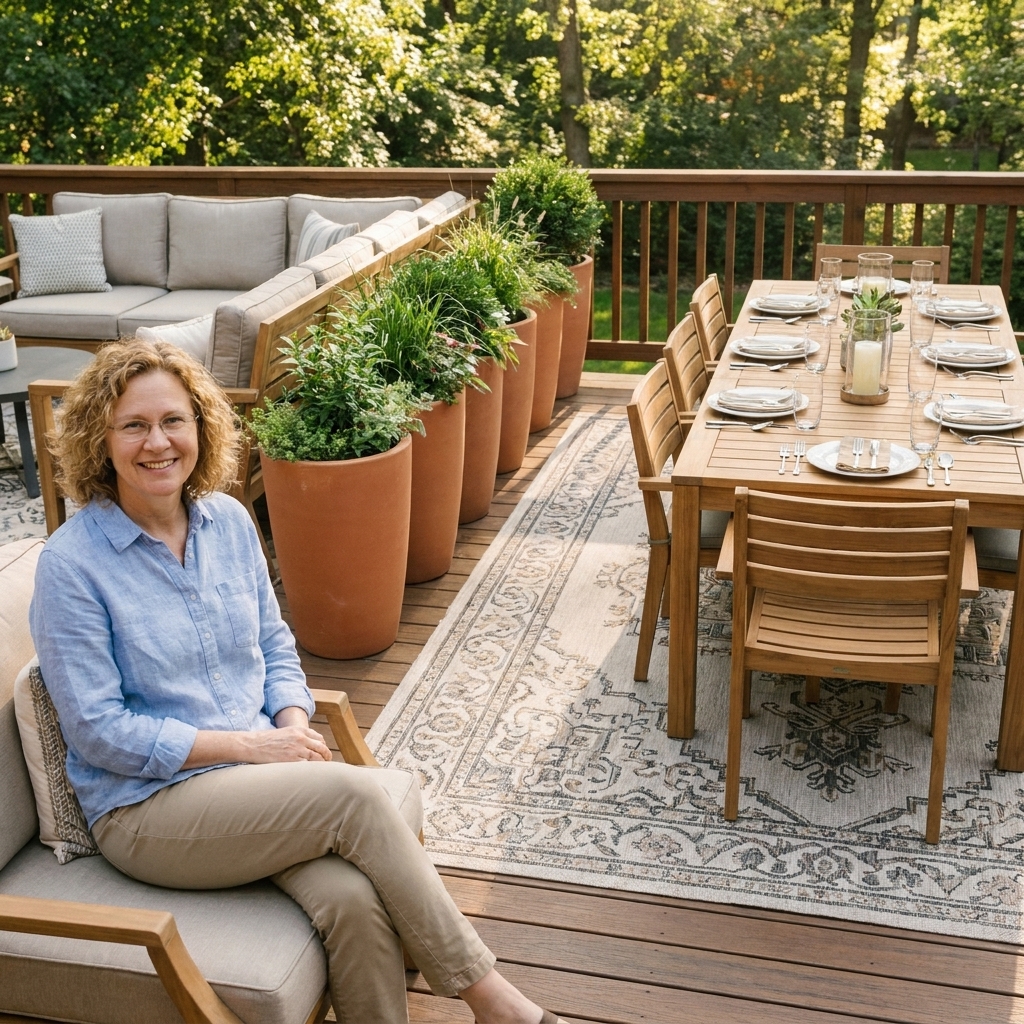
- Let your planters work for you. I love filling them with something upright like ornamental grass or a tidy evergreen, so the base looks intentional all season.
Method 2: Deck railing or post mounts
If you have a deck with railings, you may already have the perfect anchor points. The goal is to attach support poles to something structural, not just to thin trim.
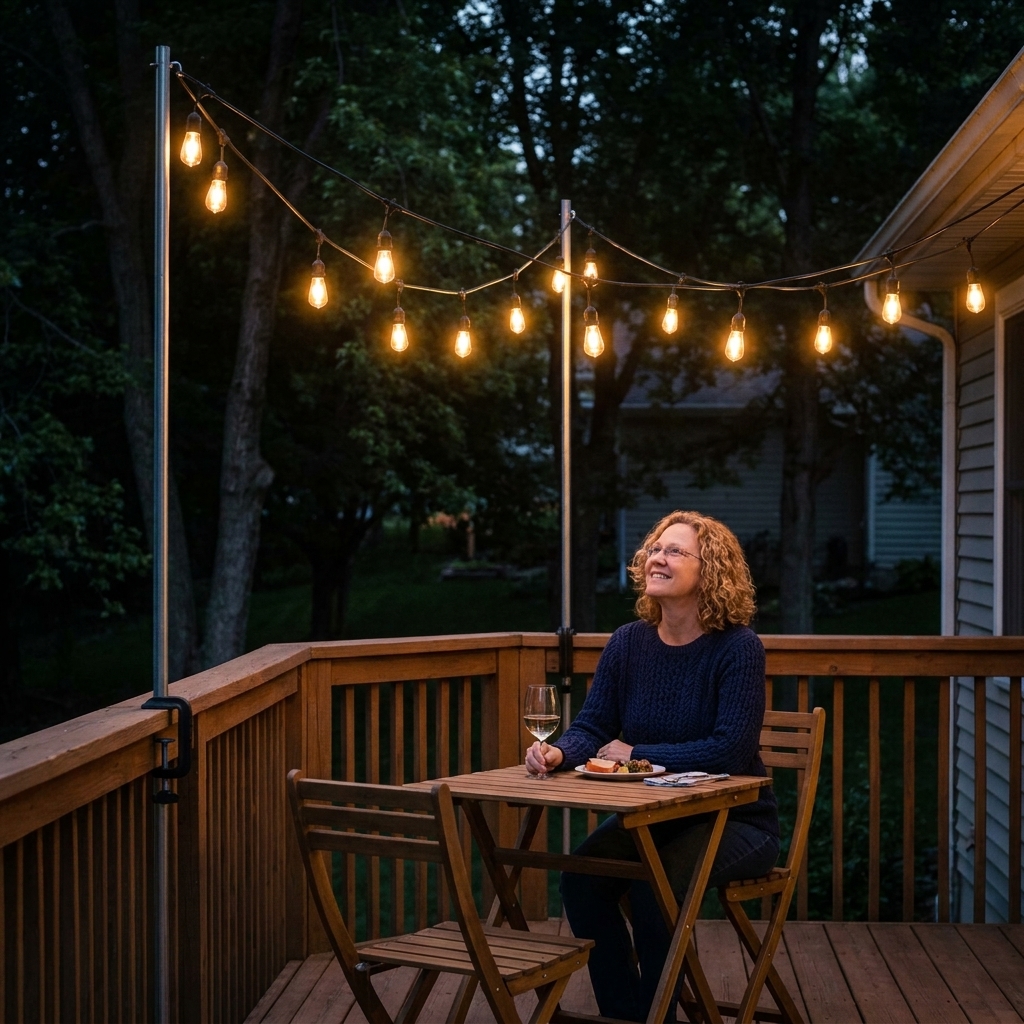
What you need
- Clamp-on deck light poles or railing post mounts
- Mounting hardware (usually included)
- Outdoor string lights
- Optional: guide wire (see Method 3) if you want extra strength
Step-by-step
- Locate strong spots. Aim for corners, main posts, or areas where railing posts are reinforced.
- Install clamp or mount. Follow the manufacturer instructions and tighten firmly.
- Add hooks or eye bolts. Many clamp poles come with a hook at the top. If not, add an eye bolt.
- Hang lights. Work from your power source outward and adjust for an even drape.
Notes from my own deck
- If your railing has a bit of flex, keep the light runs shorter and consider adding a guide wire for the main span.
- Try not to attach anything that will crush vinyl railing. Look for mounts designed for your railing type.
Method 3: Tension wire canopy
For the most professional, “stays-put” setup, use a guide wire (also called a messenger wire). Your string lights clip to the wire, and the wire carries the tension. This usually helps prevent sagging over time and keeps stress off the light cord.
One important note: some light sets are not meant to be supported by the cord alone, and some manufacturers have specific instructions for using a messenger wire. Always check your light set’s directions for supported spans and recommended hanging methods.
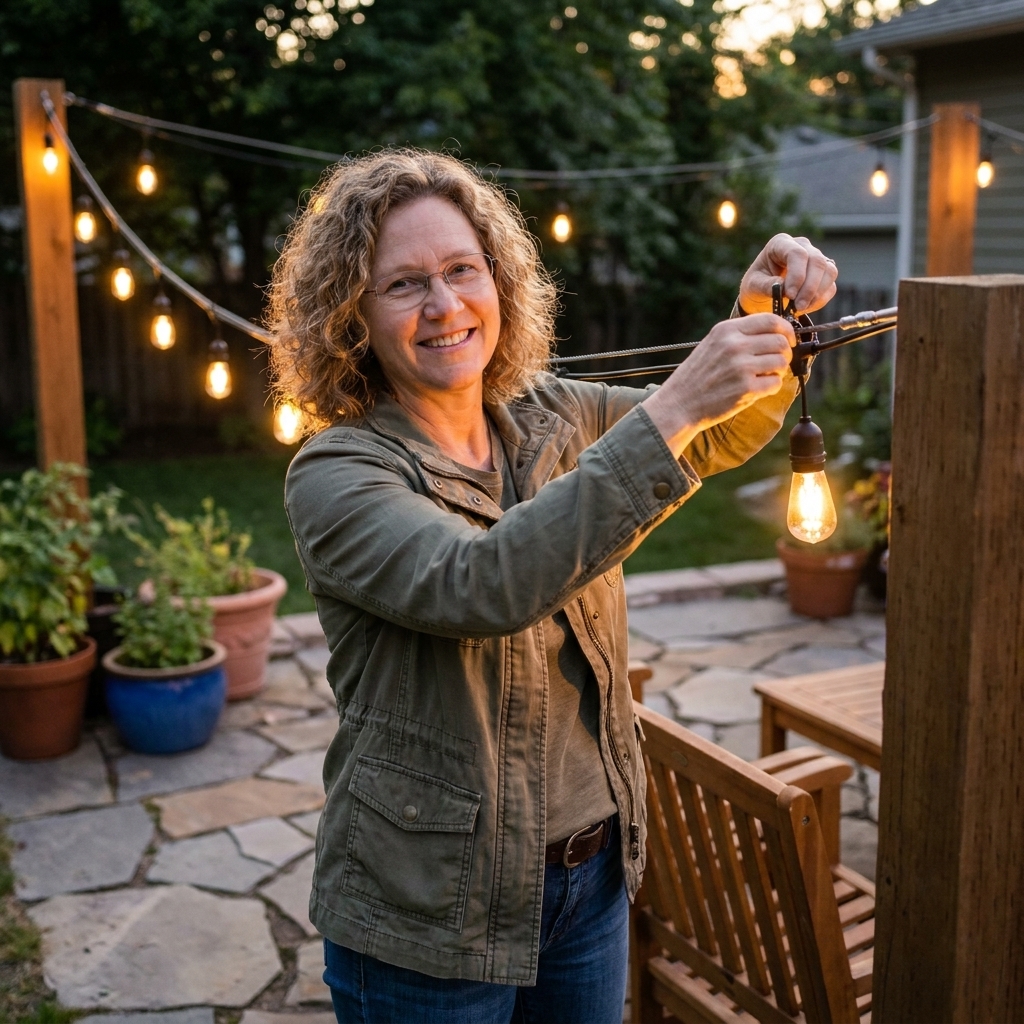
What you need
- Stainless steel wire rope (often 1/16 to 1/8 inch)
- Turnbuckles (to tighten)
- Wire rope clamps or crimp sleeves
- Eye bolts or heavy-duty screw eyes at anchor points
- Carabiners or snap hooks
- String light hanging clips or zip ties rated for outdoor use
Step-by-step
- Create solid anchor points. These can be deck-mounted poles, planter poles, or structural posts. The anchors need to handle tension.
- Install eye bolts. Pre-drill if mounting into wood. If mounting into masonry, use appropriate anchors.
- Run the wire rope. Attach one end, then add the turnbuckle on the other end so you can tighten later.
- Tighten gradually. You want the wire taut, not bowing your posts. Tighten a little, step back, then tighten a bit more.
- Clip lights to the wire. Let the guide wire do the heavy lifting. The light strand should look relaxed, not stretched.
Quick safety note
- Wear gloves when handling wire rope, and trim or tape sharp ends so nobody gets snagged.
- If your anchors or posts creak or bend when you tension the wire, back off and upgrade the support before you continue.
Why I love this method
- Less sag over time for most setups.
- Better in wind.
- Easier to swap out strands without rebuilding your whole setup.
Method 4: Wall-to-pole runs
If you have a solid exterior wall, you can anchor one end to the house and the other to a pole or a structural post. This is a great option for small patios and front porches.
Do it safely
- Mount hardware into a stud, rim joist, or solid framing. Avoid attaching heavy tension to thin fascia boards.
- Use a guide wire if you are spanning more than a short distance.
- Keep lights clear of doors so they do not snag when the door swings open.
- If you live in a townhome, condo, or have an HOA, check rules before drilling into exterior walls or adding anything visible from the street.
Choosing poles and anchors
I get asked all the time what “kind” of poles work. Here is the simple truth: your lights are only as sturdy as the support system under them.
Good pole options
- Purpose-built string light poles: Easiest, often powder-coated, and made for hooks.
- Metal conduit or galvanized steel pipe: Budget-friendly and strong. You may need to add a cap and eye bolt.
- Wood posts: Pretty, but bulkier. Best when mounted to the deck framing or set into concrete.
Hardware notes (especially outdoors)
- Go corrosion-resistant. Stainless steel is best in wet climates and coastal areas. Zinc-plated hardware can rust faster near salt air.
- Match metals when you can. Mixing dissimilar metals outdoors can speed up corrosion.
Anchoring options ranked (most secure first)
- Concrete-set base inside a planter or in-ground footing
- Deck framing mount (bolted to structure, not just railing)
- Very heavy weighted planters with pavers and gravel
- Lightweight planters (only for very short runs and calm conditions)
Height, spacing, and drape
How high should patio string lights be?
Aim for roughly 8 to 10 feet at the highest attachment points when you can. Over a dining area, keep lights high enough that nobody stands up into a bulb. Over a walkway, give yourself comfortable clearance.
How far apart should support points be?
Shorter spans look cleaner and sag less. As a general guide, if you are hanging by the light cord alone, keep spans conservative and add more support points. If you add a guide wire, you can go longer without that droopy middle.
If you want a real-world starting point: a lot of patios look best with supports every 10 to 15 feet, then adjust based on your light set’s weight and what the manufacturer recommends.
My favorite trick for a polished look
Stand back before you tighten everything down. The prettiest setups have a consistent swoop, not random dips. Adjust one run at a time until the whole canopy feels intentional.
Weatherproofing and cord management
The cozy glow is the fun part. The “boring” part is what keeps everything working after a surprise rain.
- Use outdoor-rated extension cords and keep them as short as practical.
- Elevate connections using a hook under a table, a railing clip, or a mounted cup hook.
- Cover plug connections with an outdoor connection cover if they will be exposed.
- Secure loose cord along a railing or baseboard with outdoor clips so it does not become a tripping hazard.
Troubleshooting
My poles lean after a windy night
- Add weight to the base or move to concrete in the planter.
- Shorten the light runs or add a guide wire to reduce pulling.
- Make sure the pole is not flexing. Thicker diameter poles help.
My lights sag in the middle
- Add a guide wire.
- Reduce the distance between support points.
- Raise the attachment height on the ends to create a nicer arc.
Bulbs keep popping out or flickering
- Check that bulbs are snug, especially after temperature changes.
- Use a single, properly rated outdoor extension cord rather than chaining multiple cords.
- Confirm you are not exceeding the manufacturer’s maximum link count or wattage limits.
Simple styling touches
Once your lights are up, the magic is in the layers. String lights are your overhead twinkle, but the best patios have a few “little pools of light” too.
- Lanterns or LED candles on the table for a soft flicker.
- Step lights or low pathway lights so guests can see where they are walking.
- Planters at the base of poles to visually anchor everything and soften the look.
- Outdoor pillows and a throw so the space feels like a real living room.
FAQ
Can I hang outdoor string lights with no drilling at all?
Yes. Weighted planters with poles are the easiest no-drill option, and clamp-on deck poles are another great choice if you have railings. For longer spans, you can still do no-drill if your wire anchors are attached to poles that are weighted or clamped securely.
Do I need a guide wire?
Not always, but I recommend it for long runs, windy yards, or heavier strands. It usually makes the setup more secure and helps your lights keep their shape. Just make sure your specific light set is compatible with the way you plan to clip or support it.
What is the safest way to plug them in?
Use a GFCI outlet, an outdoor-rated extension cord, and keep plug connections elevated and protected from water. Also check your manufacturer’s wattage limits and avoid overloading the circuit. If you are unsure about your outdoor outlet setup, an electrician can help you get it sorted safely.
How do I take them down seasonally without a headache?
Use carabiners or quick links at the attachment points, and clip lights to a guide wire rather than tying knots. It turns takedown into a five-minute job instead of a wrestling match.
My favorite “start here” setup
If you want the simplest plan that looks beautiful in almost any open patio: two weighted planters with poles on the far corners of your seating area, plus a guide wire across the main span. Clip the lights to the wire, plug into a GFCI, and you will have that warm bistro glow even without a single tree.
When you are ready, add two more poles to create a full canopy. It is one of those upgrades that makes an ordinary evening outside feel like a little vacation on your own porch.