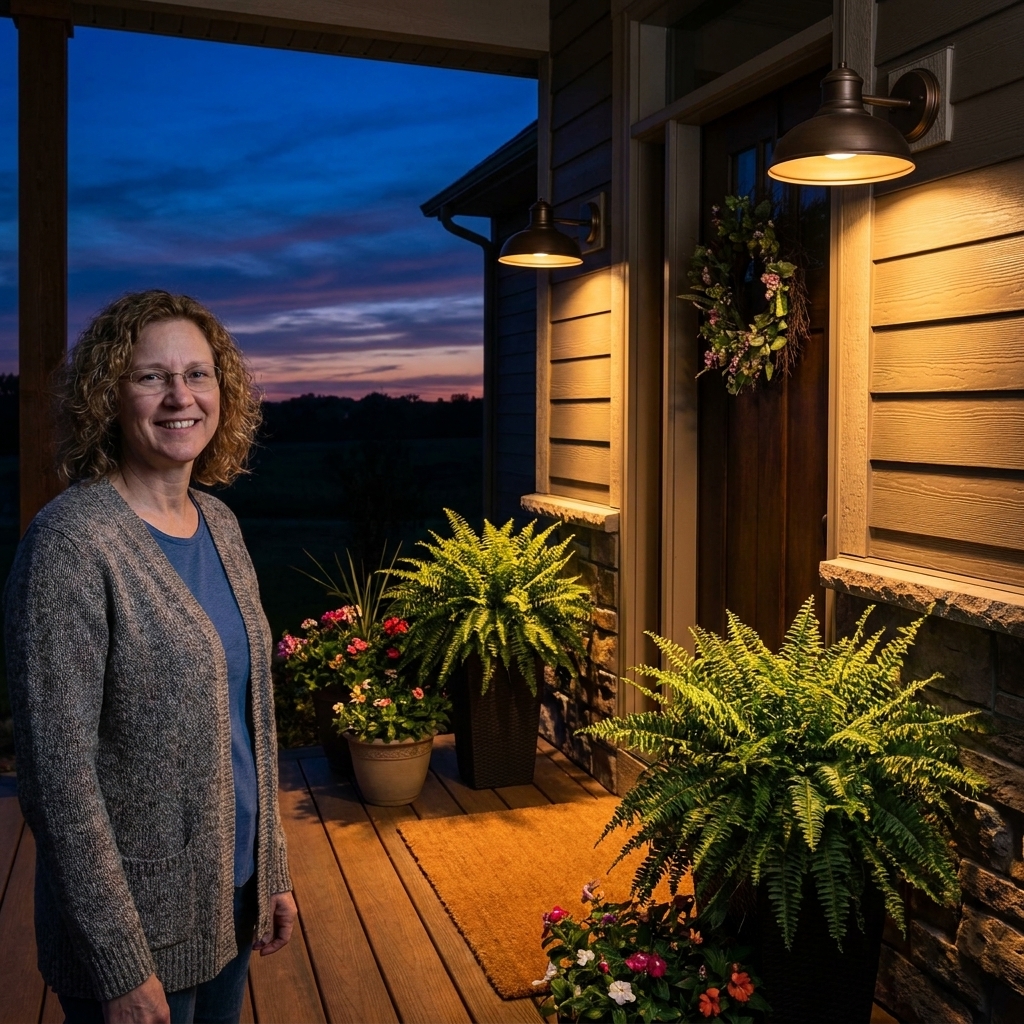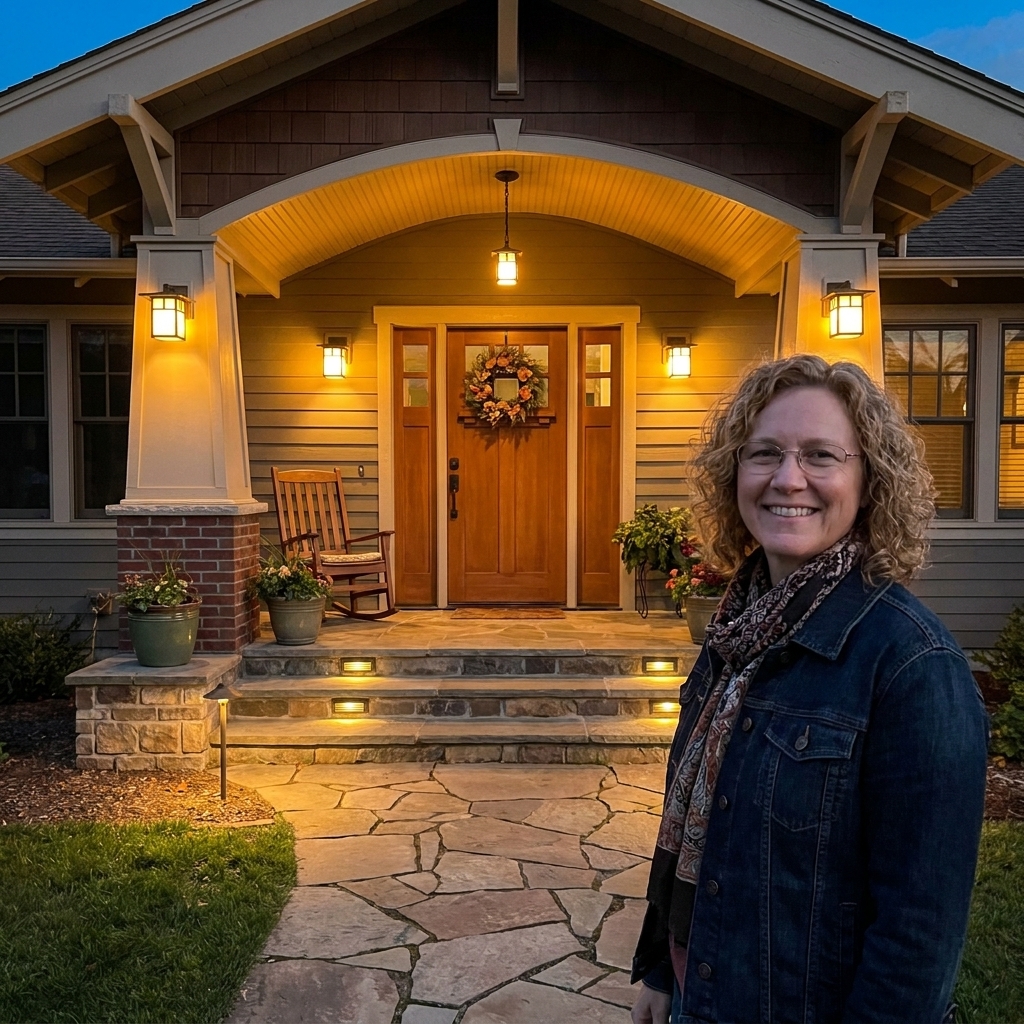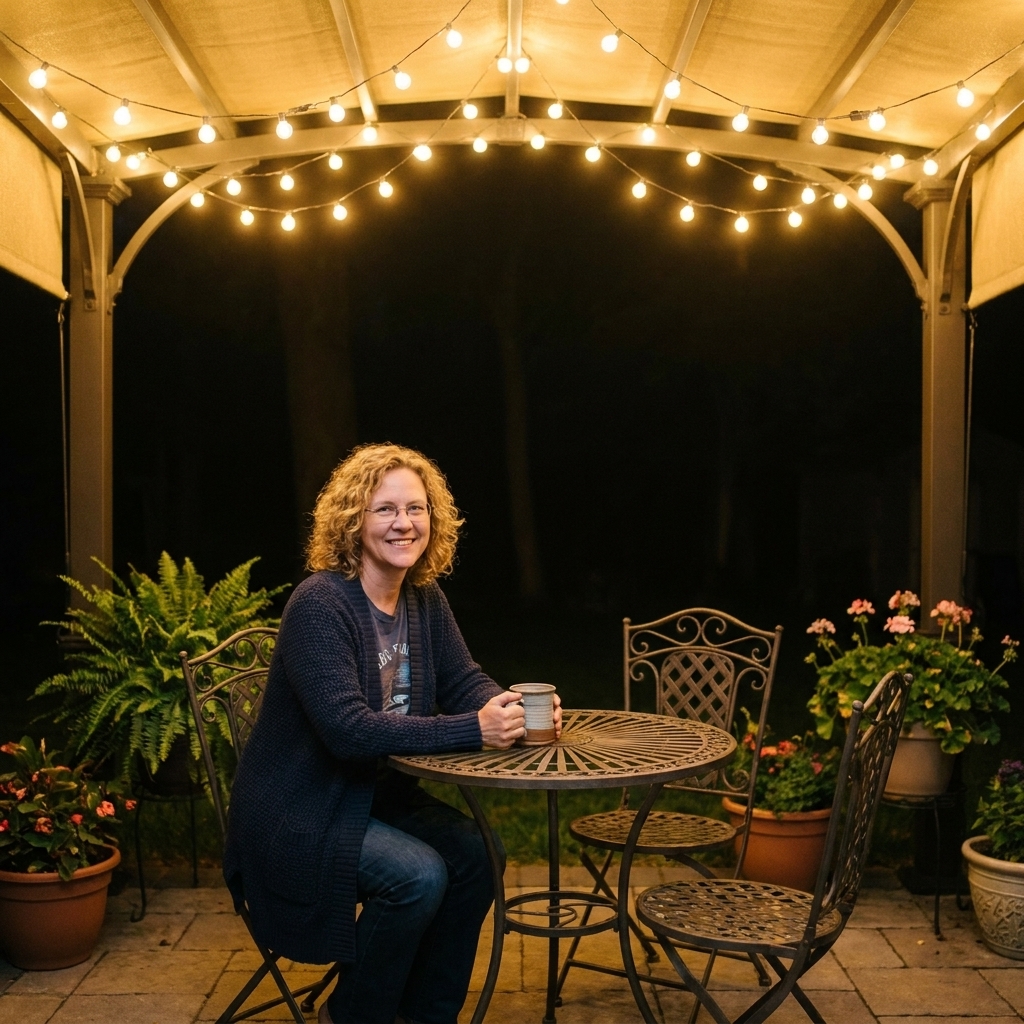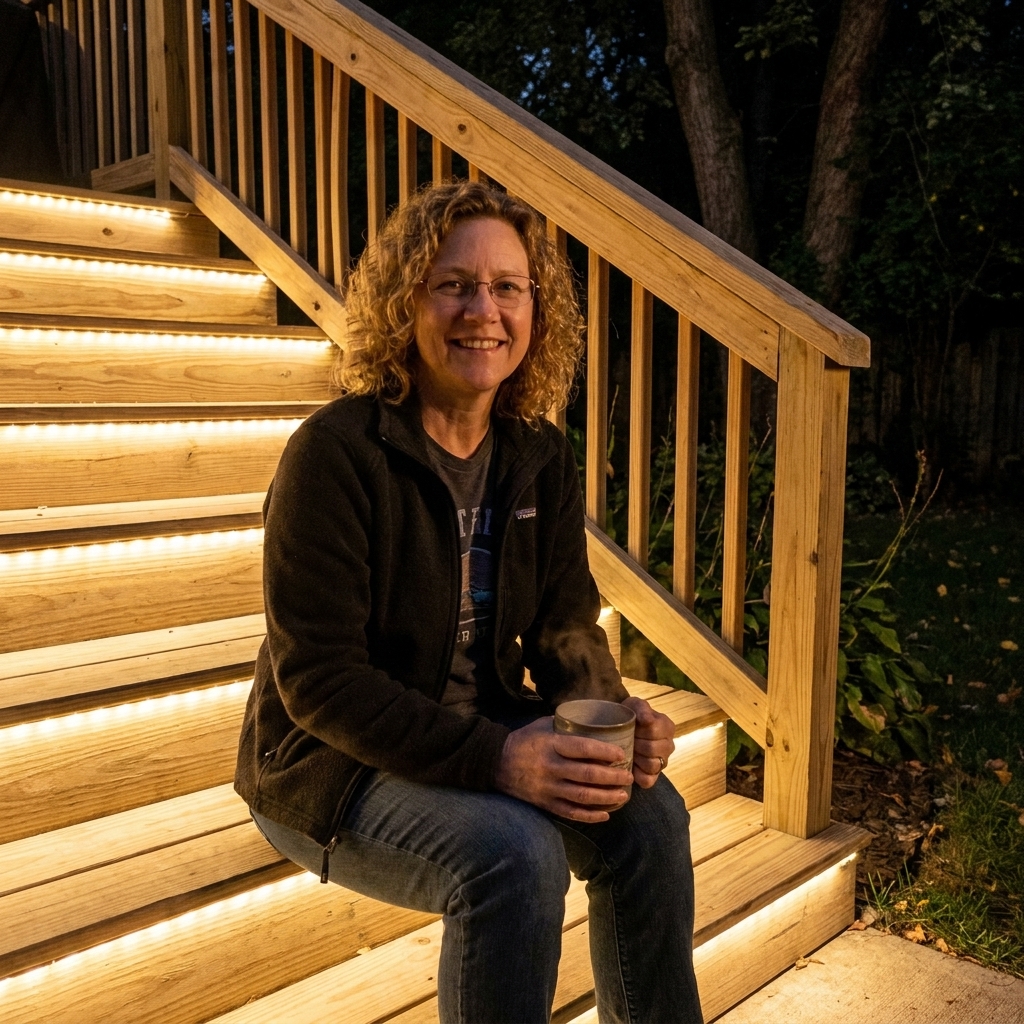
One of my favorite outdoor design tricks is also one of the simplest: instead of lighting the middle of your patio, light the edges. When you brighten the perimeter, your eye reads the space as bigger, deeper, and more welcoming. It is the same cozy magic as candlelight around a dining table, just scaled up for a porch, patio, or deck.
In this guide, I will walk you through three lighting techniques that pros use all the time: wall-washing, grazing, and spotlighting, plus how to weave in pathway lights so your outdoor living area feels framed, not flooded.
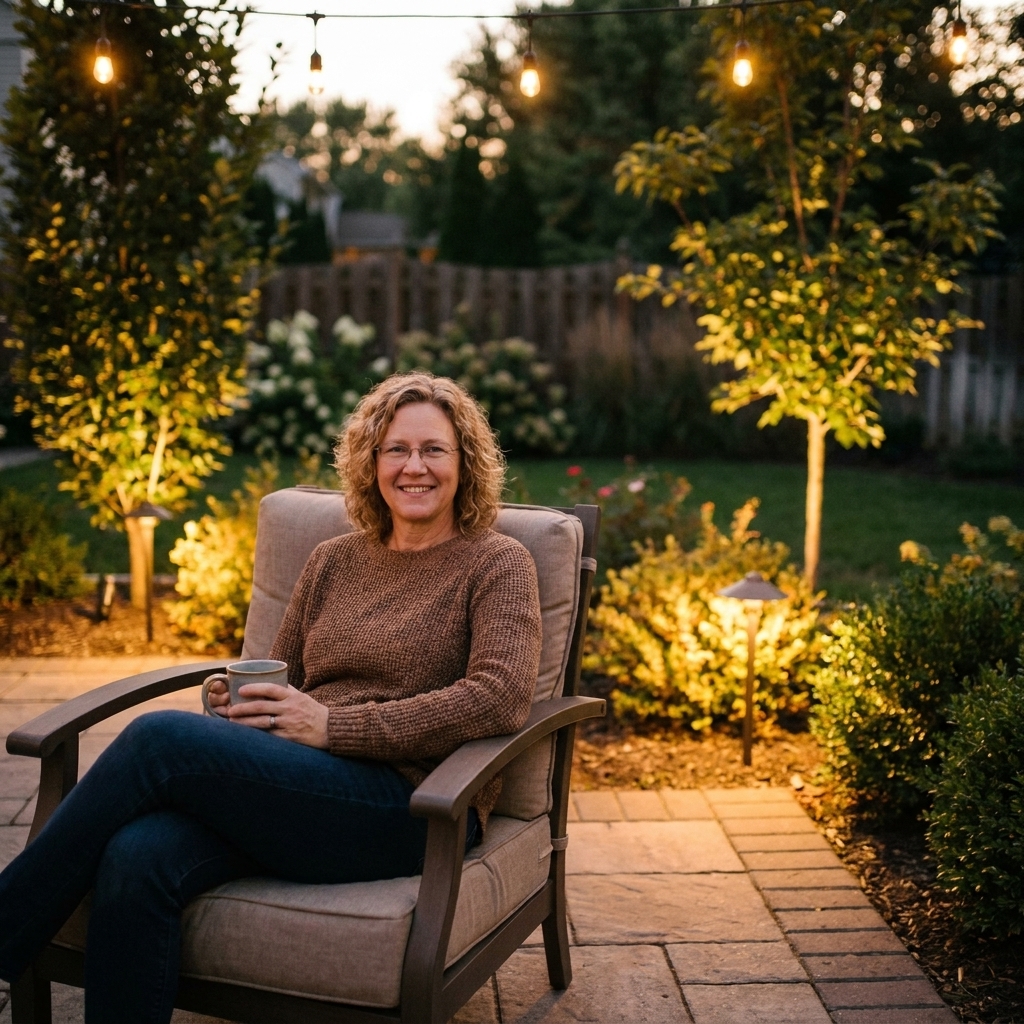
Think like a frame
If you take away one idea, let it be this: lighting works best when it creates boundaries. The goal is not to turn your patio into a stadium. The goal is to gently define the outer edges so the seating area feels like a room.
- Perimeter lighting makes the space feel larger by extending the visible boundary beyond the furniture.
- Layered lighting keeps things flattering. You want glow at the ground, mid-level glow in foliage, and a touch of height if you have trees or posts.
- Glare control is comfort. If you can see the bulb from your chair, it is probably too bright or aimed too high.
I like to do a quick nighttime walk with a flashlight. Stand where you sit, then walk the edges and point the beam at plants, fence lines, and corners. Anywhere the flashlight makes you say “oh that looks nice” is a good candidate for a light.
Wall-washing
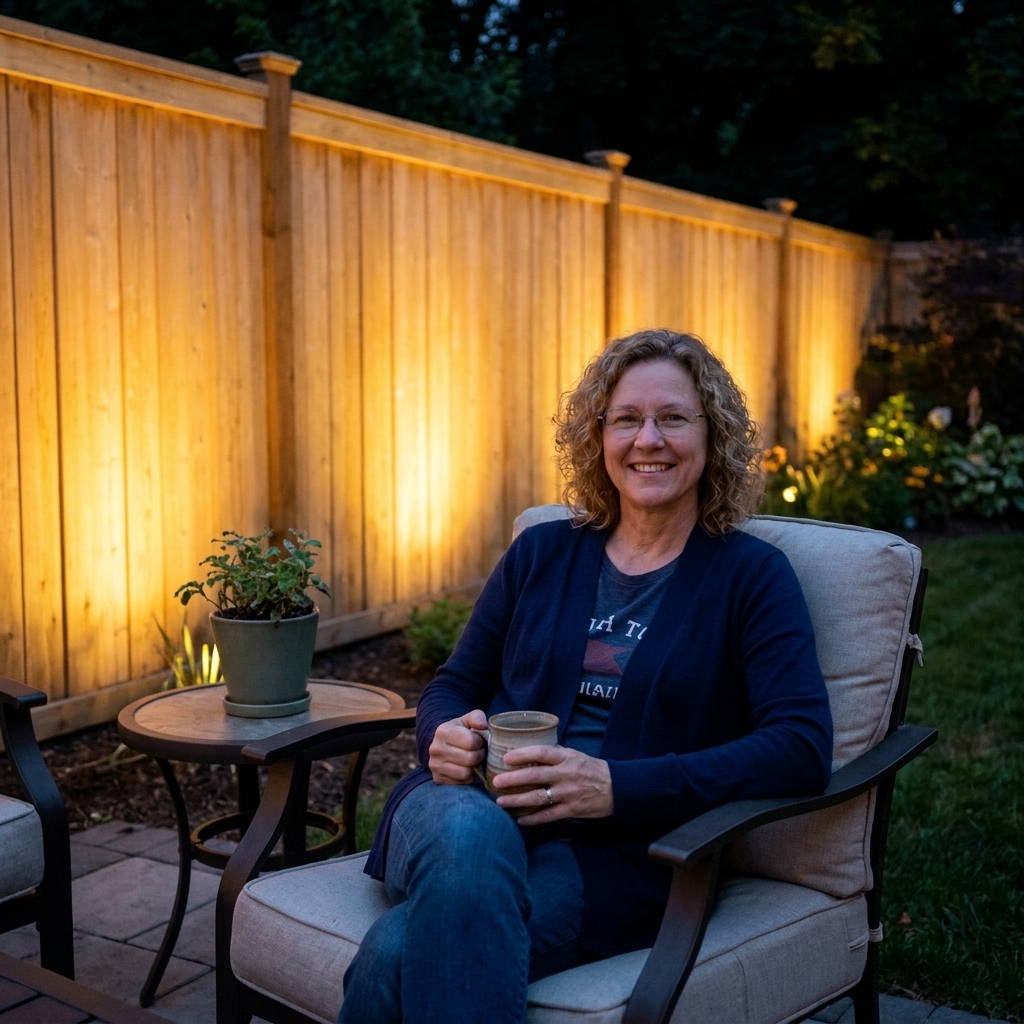
Wall-washing is a soft, even sheet of light across a surface like a fence, exterior wall, privacy screen, or the skirt of a raised deck. It is incredibly forgiving and it makes cramped patios feel more open because the background is visible instead of disappearing into darkness.
Where it works
- Fences and privacy panels behind seating
- Exterior house walls along a porch
- Raised planters, retaining walls, and low garden walls
- The outside face of deck skirting
How to place fixtures
Use low-voltage wash lights, well lights, or adjustable spot fixtures aimed for a broad spread. Consider the beam angle, lumen output, surface color, and texture, since all of those change how far and how evenly the light lands.
- Distance from wall: As a starting range, try about 12 to 24 inches away from the wall for shorter fences. For taller walls, you may land closer to 24 to 36 inches if you have room and need a broader spread.
- Aim: Tilt the beam up so it lands high on the surface, then fine-tune to remove bright “hot spots.”
- Spacing: As a starting range, space fixtures about 4 to 8 feet apart, then adjust based on your beam spread and how reflective the surface is.
My porch tip: If your wall-wash is behind the seating area, go warmer and softer than you think. A gentle amber glow behind you feels cozy. A harsh white beam will make everyone look washed out.
Grazing
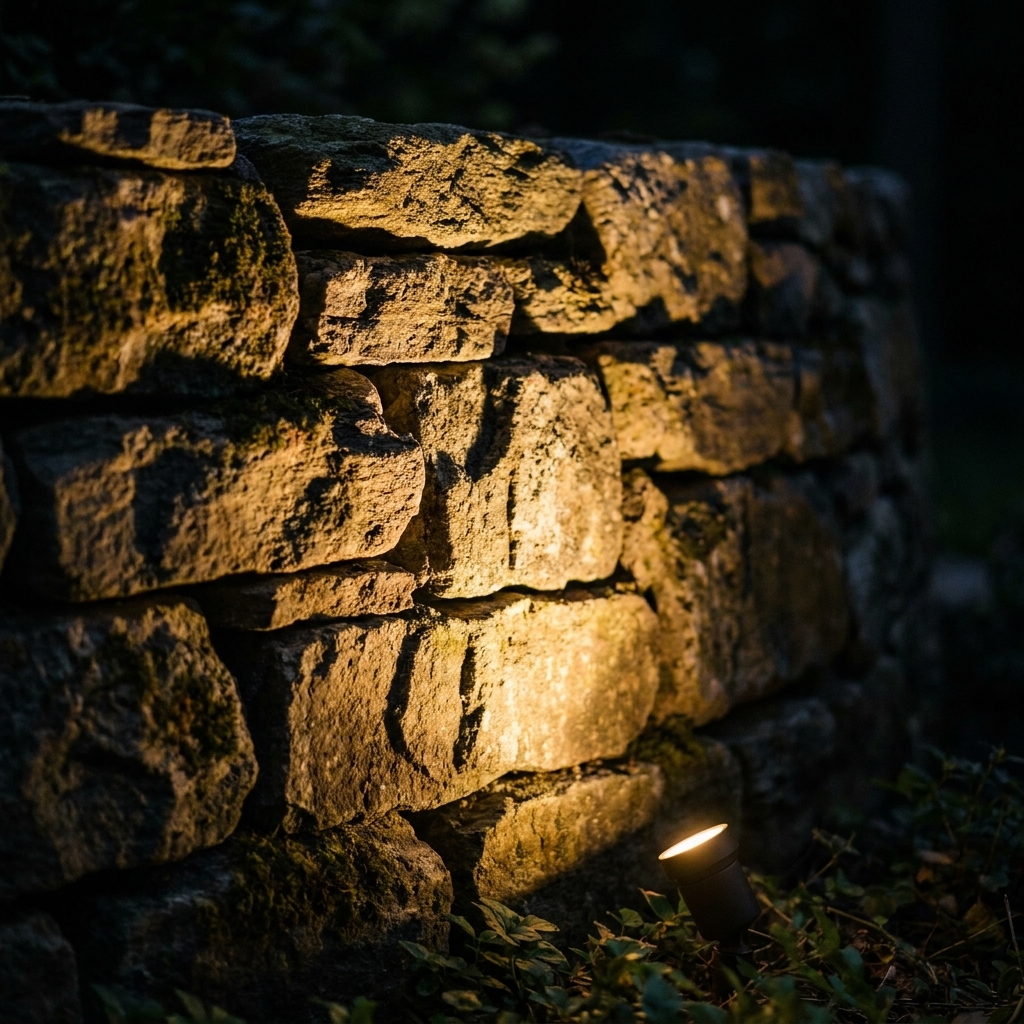
Grazing is when you place a light close to a textured surface so shadows fall across the bumps and grooves. This is the technique that makes brick, stone veneer, wood slats, and even a row of ornamental grasses look expensive at night.
Best surfaces
- Stone columns and chimneys
- Brick or textured siding
- Board-and-batten, wood fencing, or slatted screens
- Dense plantings with strong texture, like tall grasses or yucca
Placement basics
- Distance: Keep the fixture close, often 2 to 8 inches from the surface. Use this as a starting range and adjust based on how deep the texture is and how tight the beam is.
- Angle: Aim the beam nearly parallel to the surface so the texture casts a shadow.
- Brightness: Use lower output than you would for a wide wash. Grazing can look dramatic fast.
Grazing is wonderful on porch columns, but be careful: if the light is too bright, it can create sharp shadows that feel spooky rather than inviting. Warm color temperatures help keep it soft.
Spotlighting
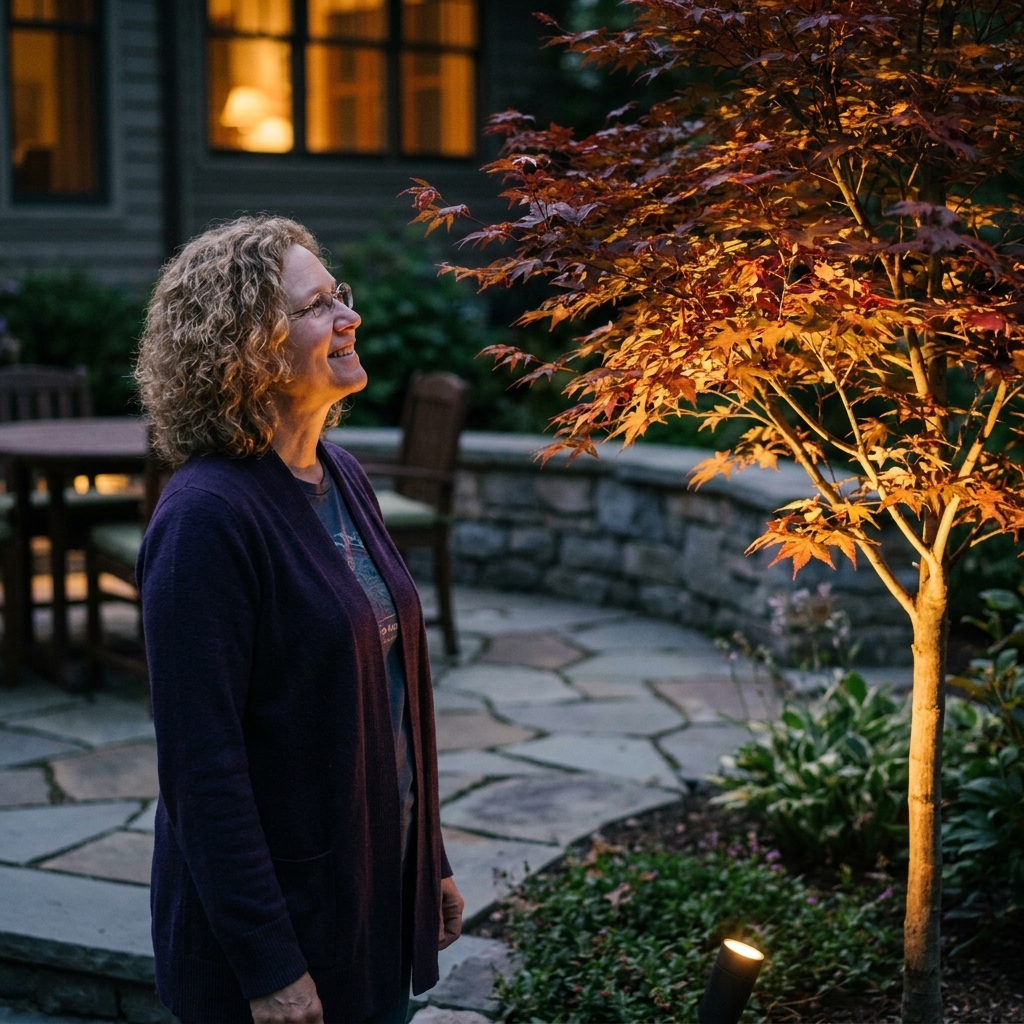
Spotlighting is your targeted, look-right-here lighting. Used sparingly, it adds depth and gives the eye a few focal points to land on, especially around the perimeter. Think of it like jewelry, not like overhead lighting.
What to spotlight
- A small tree at the corner of the patio
- A big container plant flanking the steps
- A sculptural shrub (boxwood, hydrangea, or a dramatic grass)
- A pergola post or an arbor entry
- A pretty feature like a birdbath or bubbling fountain
Aiming tips
- Hide the fixture: Tuck it behind the plant or in mulch so you see the glow, not the hardware.
- Aim across, not at faces: If a spotlight points toward chairs, it will feel like headlights. Aim it so the beam travels away from the seating area.
- Use multiple small beams: Two softer lights usually look better than one bright one.
My go-to move: Put a spotlight at each “back corner” of the patio, aimed into plants. Those corner glows act like visual bookends that quietly define the room.
Pathway lights
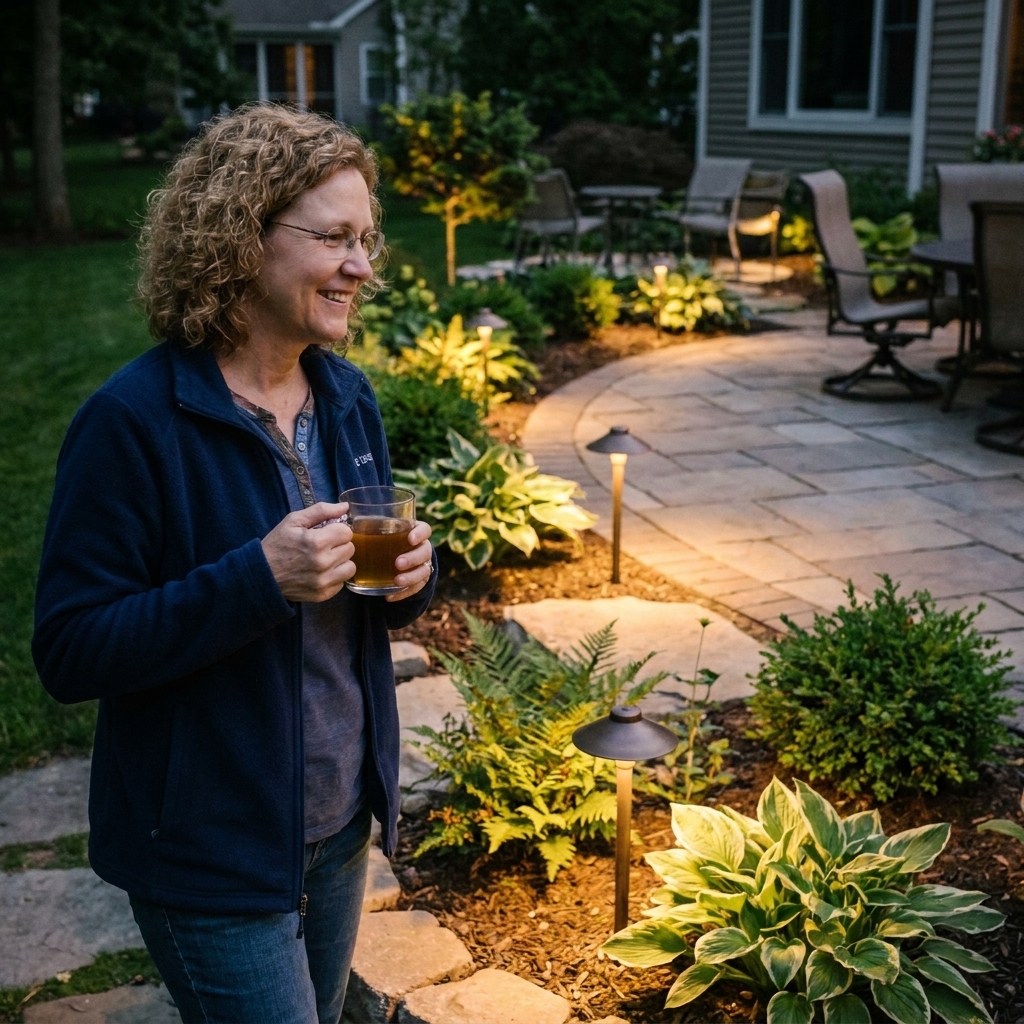
Path lights do two jobs: they keep people safe, and they outline where the outdoor living space begins and ends. The trick is keeping them low, warm, and evenly spaced so they feel like a welcoming guide.
Where they work
- Along the main walkway to the porch steps
- At the edge where patio meets lawn or garden bed
- Near a change in elevation like stairs or a step down
- In corners where people naturally turn
Starting-point spacing
- Spacing: A common starting range is 6 to 10 feet apart, then tweak based on fixture output, beam spread, and how dark the surroundings are. Closer spacing looks more formal. Wider spacing feels relaxed.
- Offset: Start by placing lights slightly off the walking line, about 6 to 12 inches from the edge, so they guide without being underfoot.
- Staggering: If you have a wider path or patio edge, stagger lights on alternating sides for a softer, more natural rhythm.
Glare check: Sit down where you relax. If you can see the LED chip, the light is too tall, too bright, or aimed wrong. Look for fixtures with a good shade or cap that hides the source. If you are near a property line, consider shields or a lower output lamp so the light stays in your yard.
Three simple layouts
If you are staring at your yard thinking “okay but where do I start,” here are three simple combinations that work in real-life patios and porches.
1) Small patio that needs depth
- Wall-wash the fence or back wall to push the boundary outward.
- Add two spotlights in the back corners aimed into shrubs or tall pots.
- Use 2 to 4 path lights along the edge where patio meets lawn.
2) Front porch with steps
- Grazing light on columns or a textured brick wall for instant charm.
- Spotlight a large planter on each side of the steps.
- Path lights along the walk, with one near the bottom step for safety.
3) Deck with landscaping
- Wall-wash deck skirting or a nearby privacy screen.
- Spotlight one small tree or tall shrub to give height.
- Low path lights on the route from deck stairs to the yard gate.
Brightness and color
For outdoor living areas, I lean warm and gentle. You want enough light to move comfortably and see faces, but not so much that it kills the evening vibe.
- Color temperature: Warm white in the 2700K to 3000K range is a safe bet for most porches and patios. If your home leans modern, or you like a slightly crisper look, you might prefer something a bit higher. The key is keeping it consistent across fixtures.
- Light levels: Lower is usually more flattering near seating, but steps and transitions sometimes need more light for safety. If you are unsure, start lower and add output only where you need it.
- Typical lumen starting points: Many path lights look comfortable around 50 to 150 lumens, while small accent uplights often land around 150 to 400 lumens depending on what you are lighting and how far the beam has to travel. Wall-washing can vary widely, so let the surface and beam spread guide you.
- Consistency: Try to keep the same color temperature across fixtures so the yard does not look patchy.
If you already have cooler porch bulbs, do not panic. Start by replacing the bulbs closest to your seating area with warmer ones first. That single change can make the whole setup feel more inviting.
Setup tips
Hide the hardware
Bury wire, tuck fixtures behind foliage, and angle beams so the source is hidden from your seating. The glow should feel like it belongs there.
Light the corners first
Before you add five new fixtures, light two corners and one backdrop surface. Corners define the room. Backdrops add depth.
Mind the beam angle
A narrow beam can create bright circles. A wider beam softens the look for wall-washing. Adjustable fixtures are your friend, especially while you are learning.
Plan for seasons
Plants grow and garden beds change. Leave a little slack in your layout so you can move a light a foot or two without redoing the whole system.
Use outdoor-rated gear
Stick with outdoor-rated fixtures and connectors, and follow local code for power, wiring, and burial depth. If you are plugging into an outlet, use GFCI protection and keep connections dry and protected.
Maintain it
Every so often, clear mulch and leaves away from lenses, wipe off dirt, and re-aim fixtures. A five-minute tune-up can make the whole yard look “new” again.
Common mistakes
- Too many path lights: If it looks like a runway, remove every other fixture or switch to lower output bulbs.
- Uplights aimed too high: Drop the angle until you highlight trunks and foliage instead of blasting the neighbor’s windows.
- Mixing warm and cool light: Standardize to one color temperature for a calmer, higher-end look.
- Glare in seating areas: Re-aim away from chairs, add a glare shield, or swap to a louvered fixture.
- Lighting only the middle: Move one or two fixtures outward to the perimeter and watch the patio “grow.”
Quick FAQ
Should uplights point straight up?
Usually no. Straight-up beams can look harsh and create glare. Aim uplights so they skim trunks, foliage, or a wall surface, then adjust from your main seating spot until the light feels soft.
Can I mix uplighting with string lights?
Absolutely, and I love that combination. Let string lights handle the overhead sparkle, then use uplights and path lights to define the edges and highlight plants. The mix feels layered and finished.
Solar or low-voltage?
Solar is great for quick accents and sunny spots. Low-voltage tends to be more reliable for consistent brightness and run time, especially in shaded gardens or long walkways.
The finishing touch
Once your perimeter is softly lit, your patio stops feeling like furniture sitting outside and starts feeling like an outdoor room. Add a throw blanket, a little side table, and maybe one candle on the coffee table, and you will be surprised how often you wander outside “for five minutes” and stay for an hour.
If you try one change this week, pick a corner plant or a fence line and add a warm uplight. That one glow can completely shift the mood.