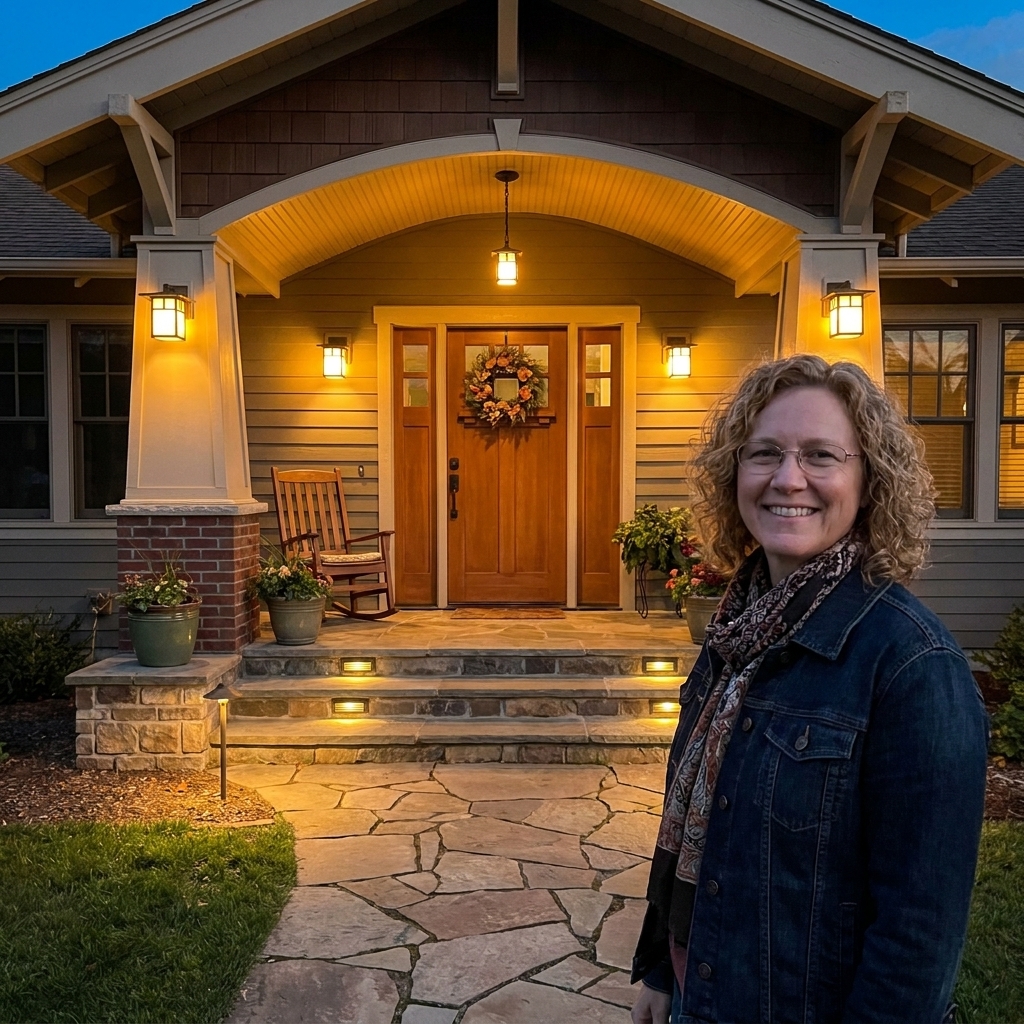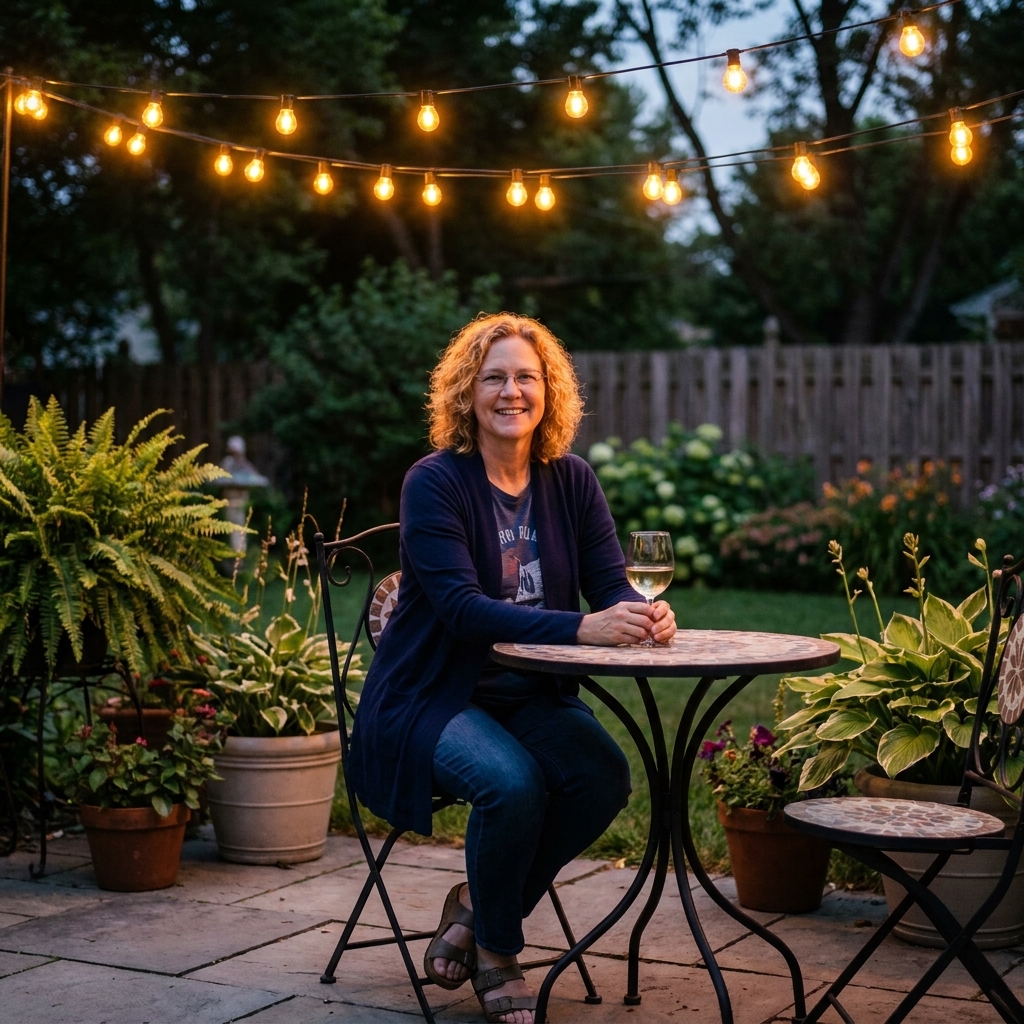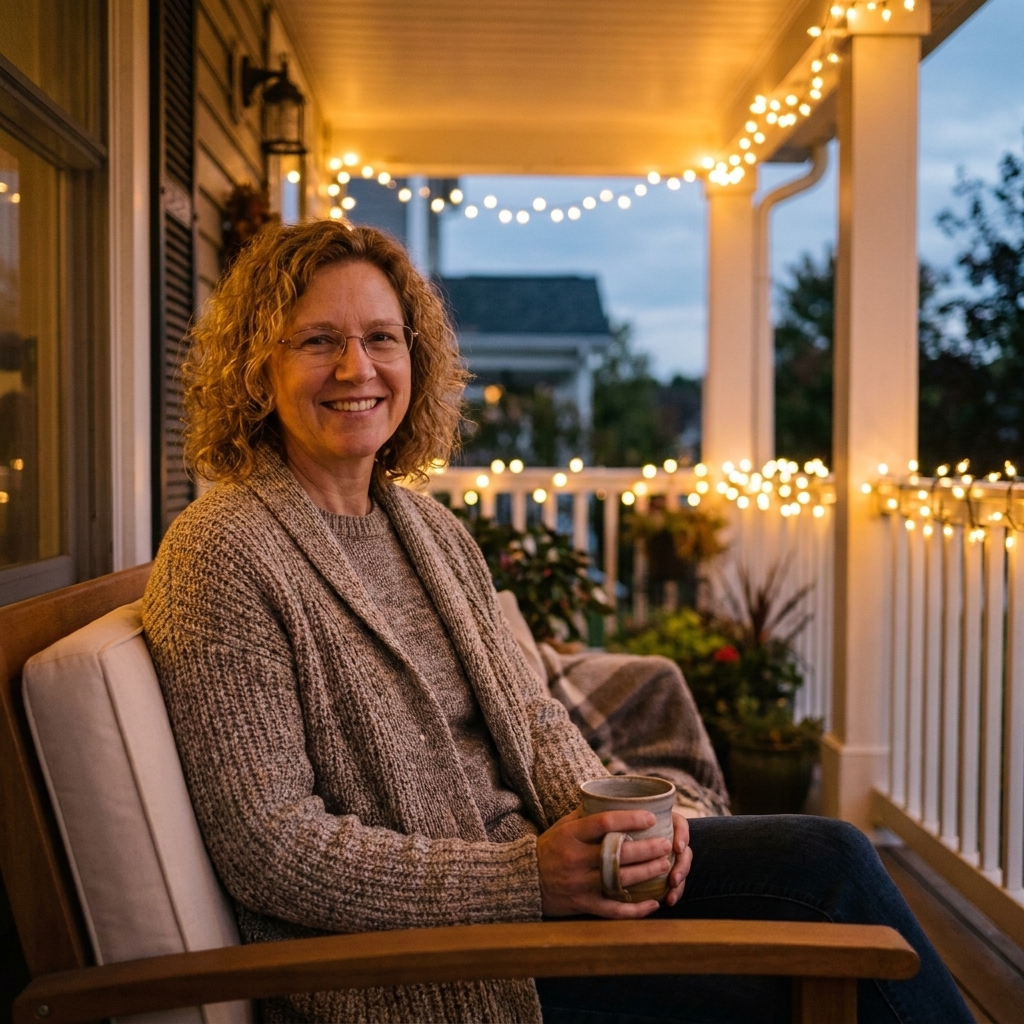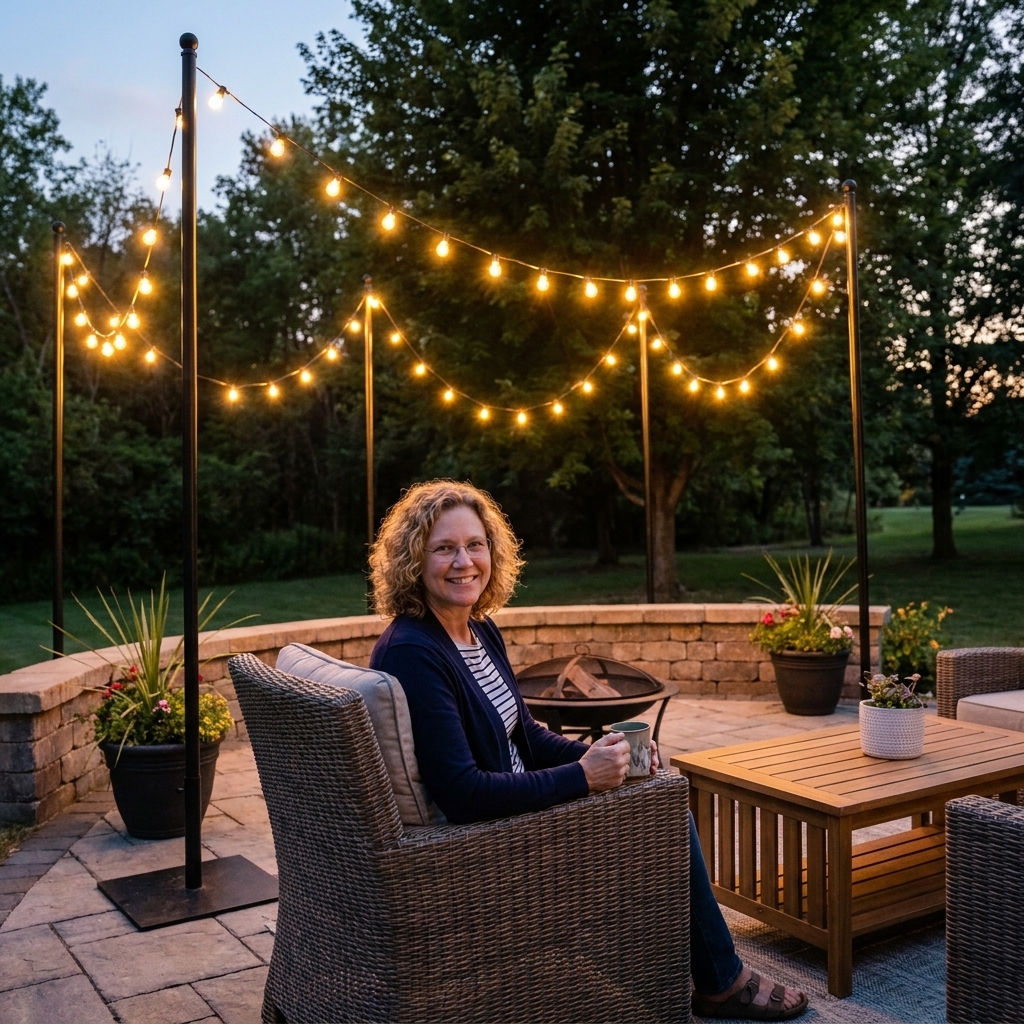
My deck rule of thumb is simple: if you can host friends after sunset without anyone doing that awkward “where’s the next step?” shuffle, you are doing it right. Deck stairs and railings are the two places lighting pays you back immediately. The right setup helps prevent trips, boosts confidence, and adds that soft, welcoming glow that makes you want to linger outside a little longer.
This is not about turning your deck into a stadium. It is about lighting the edges, the changes in elevation, and the handholds so your eyes and feet always know what to do.
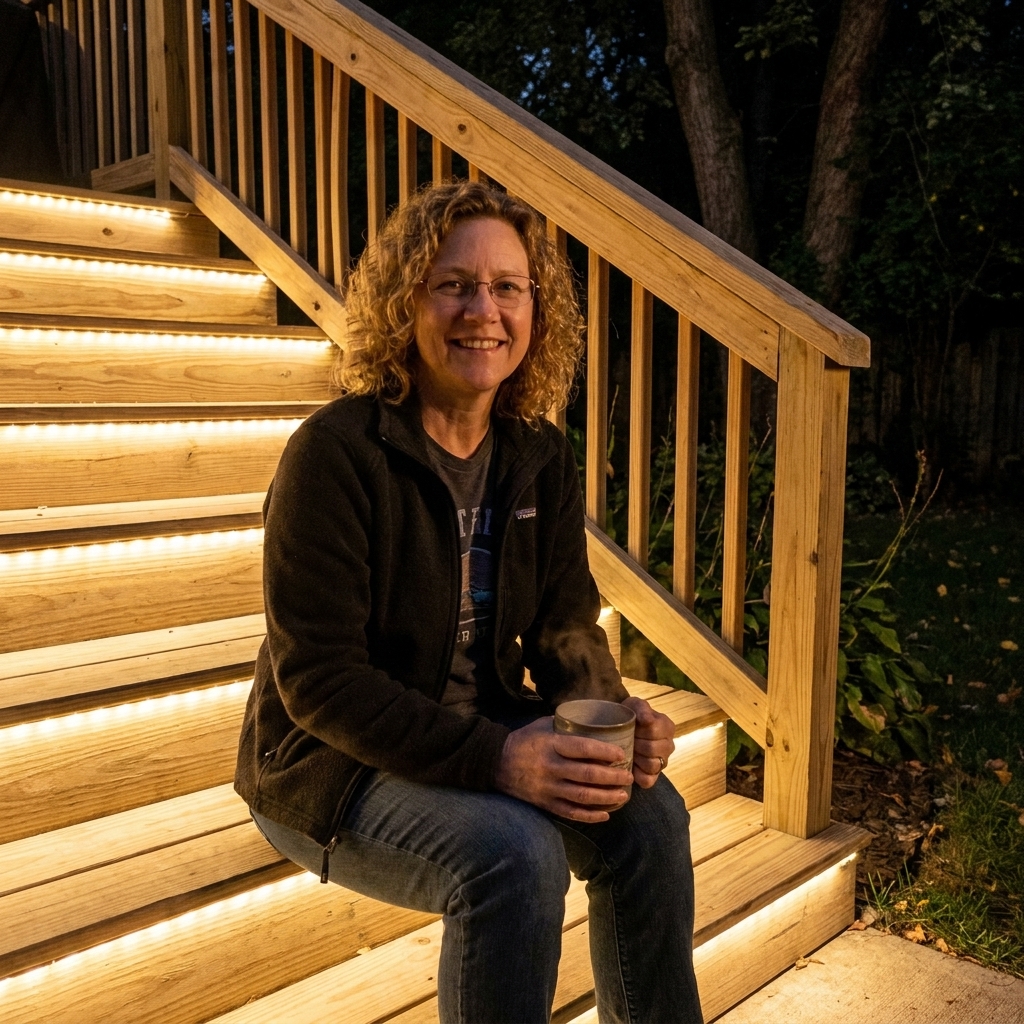
Start with safety: what to light
When I plan stair and railing lighting, I look for “decision points.” Anywhere someone has to step up, step down, turn, or reach for support should be gently highlighted.
- Each stair run: light the tread edge or riser so each step reads clearly.
- Top landing and bottom landing: these transition spots are common places for missteps, especially when guests move from a bright interior to a darker exterior.
- Railings and handrails: you do not need a bright rail, but a subtle glow makes the boundary obvious.
- Changes in direction: corners, switchbacks, and any turn in the stairs deserve special attention.
- Obstacles near stairs: planters, furniture, low walls, or a grill near a stair path should not disappear at night.
If you are choosing where to spend first, prioritize stairs over decorative accents. You can always add the “pretty” layer later.
Integrated options
Integrated deck lighting is my favorite because it feels intentional, like it was always meant to be there. Here are the most useful types for stairs and railings.
Under-tread lights
Under-tread fixtures mount beneath the lip of each tread or under the nosing. They cast light down onto the step below, which means you get visibility without glare.
- Best for: clearly defining each step, modern and clean looks
- Placement tip: tuck the fixture back far enough that you cannot see the diode from standing height
- My favorite effect: a continuous, gentle “waterfall” of warm light down the stair run
Riser lights
Riser lights are installed on the vertical face of the step. They are great when you want a clean tread edge or when the stair construction makes under-mounting tricky.
- Best for: traditional decks, wider staircases, stairs with a closed stringer look
- Placement tip: install consistently at the same height on each riser for a tidy look
Recessed tread lights
These sit flush in the tread surface. They can look very high-end, but they need careful selection to avoid shining straight into eyes as people approach.
- Best for: minimalist designs, composite decks, modern stair details
- Choose wisely: look for shielded or louvered faces to control glare
- Safety note: avoid placing where heels or toes can catch the edge of the fixture
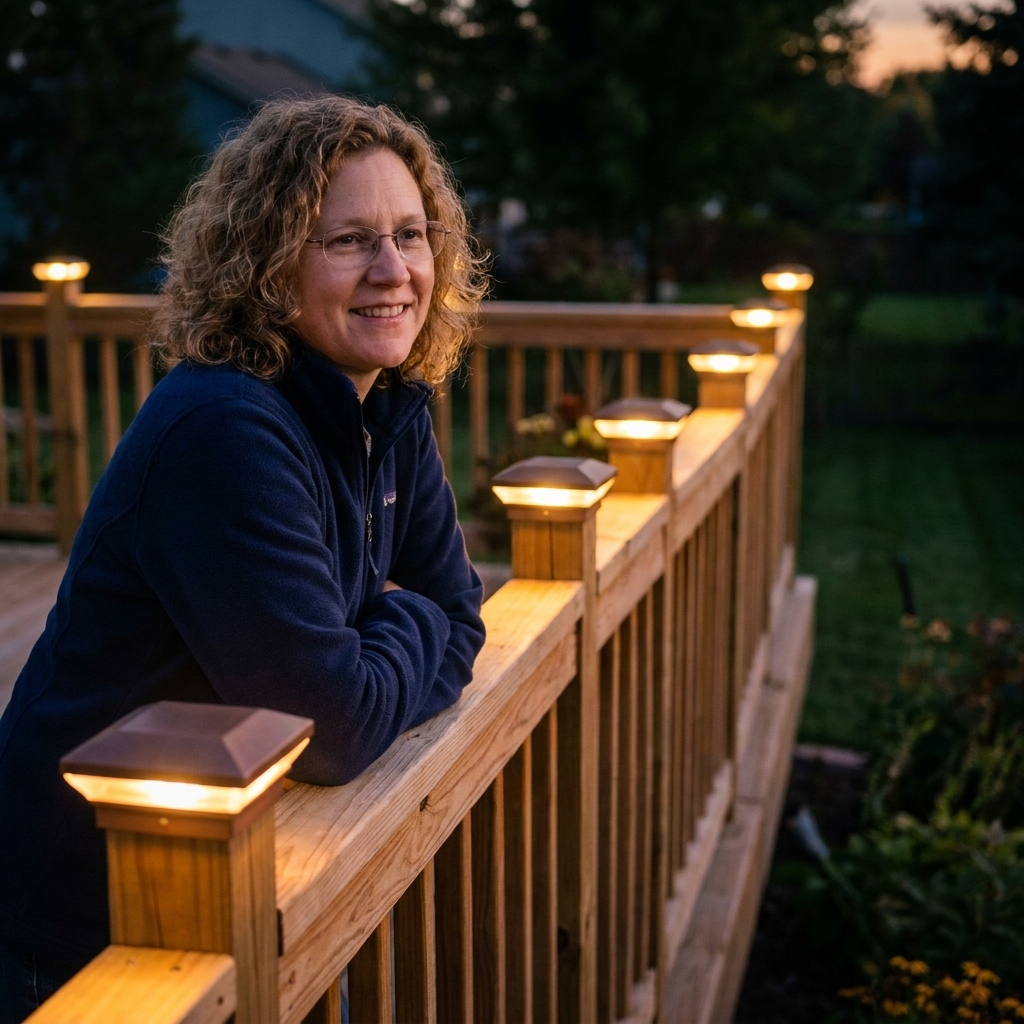
Post cap lights
Post cap lights sit on top of railing posts and help outline the perimeter of the deck. They are wonderful for mood and for defining edges, but they usually are not enough alone for stairs.
- Best for: deck perimeter glow, outlining railings, adding a finished look
- Pair with: stair lights for true trip prevention
Railing lighting
Railings are tricky because it is easy to accidentally create glare at eye level. The goal is a gentle wash, not a spotlight.
Under-rail LED strip lighting
LED strips mounted under the top rail or under the handrail give a beautiful, even line of light that reads as “designer,” especially on composite or painted railings.
- Best for: continuous glow, modern decks, entertaining spaces
- Install tip: use an aluminum channel with a diffuser so you do not see individual dots
- Glare tip: keep the strip hidden behind the rail lip
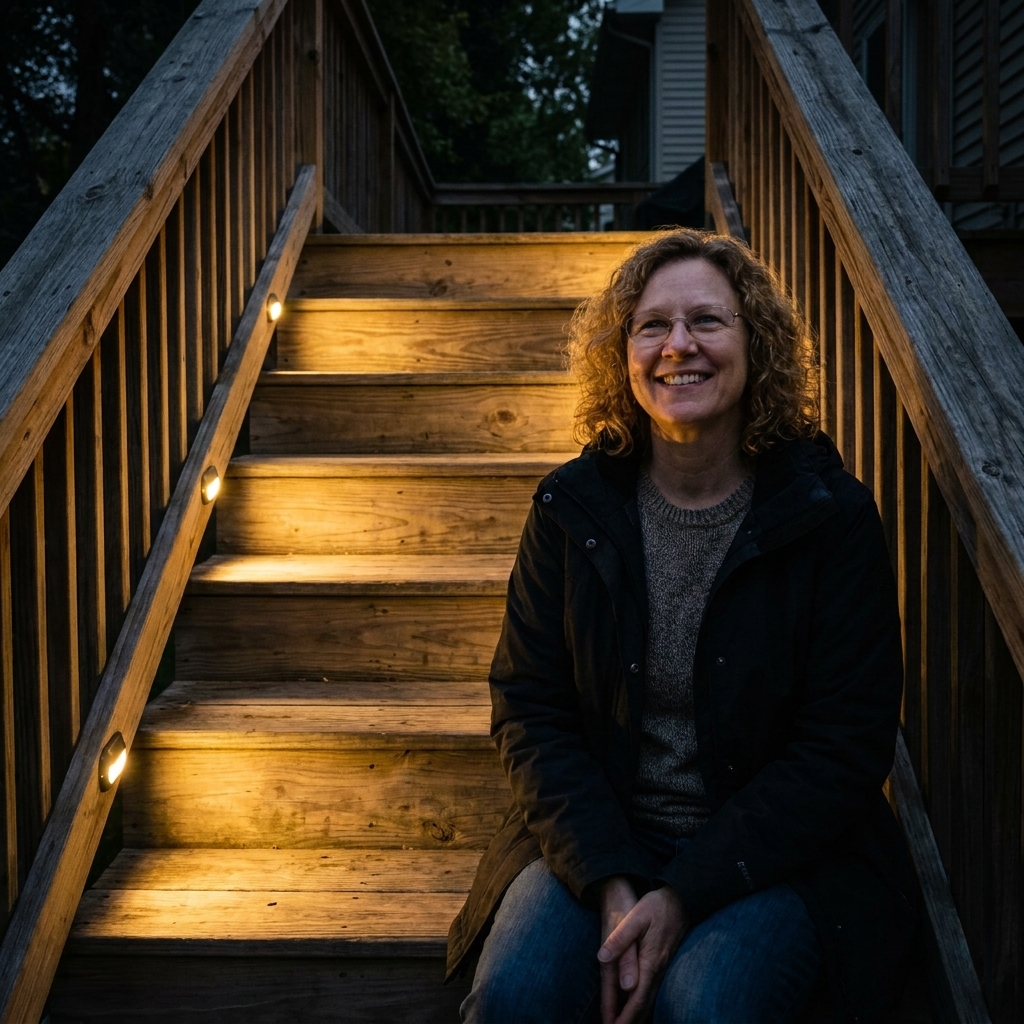
Handrail lights
Some systems mount tiny fixtures under the handrail to light the stair path while also making the handrail itself easy to find. This is a great option when the railing is the main guide down the stairs.
- Best for: stairs with one primary handrail, narrow stairs, side-yard decks
- Look for: downward throw, shielded lens, warm temperature
Baluster and side-mount accents
Small lights mounted on the inside face of a post or along the stringer can add sparkle without lighting up your whole yard. Think of these as the jewelry layer, not the work boots.
- Best for: subtle ambiance, highlighting architectural details
- Keep it cohesive: match finish colors (black, bronze, stainless) to your existing hardware
Brightness and color
Outdoor lighting should help your eyes adjust comfortably. Too bright feels glaring and can actually make shadows worse. Too dim looks pretty until someone misses a step.
Go warm
- 2700K: my top pick for decks, cozy like indoor lamplight
- 3000K: still warm, a little crisper, nice for modern exteriors
- 4000K and up: can look bluish and harsh on wood, but it can work if you prefer a daylight look or you have very modern materials and finishes
Use lower lumens, more fixtures
For stairs, lots of small, well-placed lights usually beats one bright light. It reduces harsh shadows and helps each step read clearly.
Choose shielded fixtures
Whenever possible, choose fixtures that hide the LED point. Downlighting and diffusers make everything feel softer and more upscale.
Layout and spacing
Those alternating bright and dark bands on stairs are a common DIY hiccup. You can avoid it with a few simple habits.
- Light every step for primary staircases that guests use often, especially if you host in the evening.
- For secondary stairs, you can sometimes light every other step if the fixtures have a wide spread, but test it at night before you commit.
- Do not rely on post caps to light treads. They outline the perimeter, but they rarely put light where feet need it.
- Layer landing lighting: a small downlight near the top or bottom landing helps eyes adjust and makes the transition safer.
- Keep symmetry when you can: matching left and right placement looks polished, especially on wide staircases.
Power options
You can get a beautiful result with any of these. The right choice depends on how often you use the space, how much sun you get, and how “set it and forget it” you want your system to be.
Solar
- Pros: no wiring, quick installs, great for post caps and some step lights
- Cons: performance depends on sun exposure and battery quality, light output can fade over the evening
- Best use: perimeter glow and mild stair outlining in full-sun yards
Low voltage
- Pros: consistent brightness, wide fixture choices, lower shock risk than line voltage, excellent for stairs
- Cons: requires a transformer and some cable planning
- Best use: under-tread and riser lighting, rail washes, layered layouts
Line voltage
- Pros: powerful and dependable
- Cons: typically requires a licensed electrician and permits depending on location
- Best use: major architectural lighting when you want everything hardwired
If you are unsure, low voltage is often the sweet spot for homeowners who want a reliable system without the complexity of full line-voltage work. Even so, this is outdoor electrical work, so follow manufacturer instructions, keep connections weather-rated, and check local code requirements for your area.
Durability and weather
Deck lighting lives through rain, sprinklers, pollen season, and that one winter storm that makes you question all your life choices. A few specs and materials make a big difference.
Use outdoor-rated fixtures
- Wet location rating is ideal for uncovered stairs and railings.
- Corrosion-resistant materials matter in humid climates and coastal areas. Powder-coated aluminum and quality composites tend to wear well.
- Sealed connectors help prevent flicker and failures over time, especially with low voltage systems.
Plan for water flow
Water always wins. Mount fixtures so they shed water, and keep wiring and connections tucked where they will not sit in puddles or collect debris.
Match your finishes
Black and bronze disappear visually at night, which I love. Stainless can look sharp, but in some settings it reads brighter in daylight. Matching your existing railing hardware makes everything look intentional.
Controls and upkeep
The best lighting plan is the one you actually use. Make switching effortless, and your deck will feel inviting more nights of the year.
- Timers and photocells: great for everyday “on at dusk” reliability.
- Smart plugs and smart transformers: helpful if you want schedules, scenes, or voice control.
- Dimmers (where compatible): perfect when you want bright, safe steps early in the evening and a softer mood later.
- Motion sensors: ideal for side-yard or back-door stairs where you want light only when someone is using them.
Maintenance is simple but worth doing: wipe lenses and diffusers a few times a season, check that low-voltage connectors stay tight and dry, and if you use solar, plan on replacing rechargeable batteries when they stop holding a full evening charge.
Layering for ambiance
Once the stairs and railings are safe, you get to add the pretty stuff. This is where your deck goes from “usable” to “I want to stay out here.”
- Stair lighting (task): defines steps and transitions.
- Railing glow (ambient): soft perimeter and gentle mood.
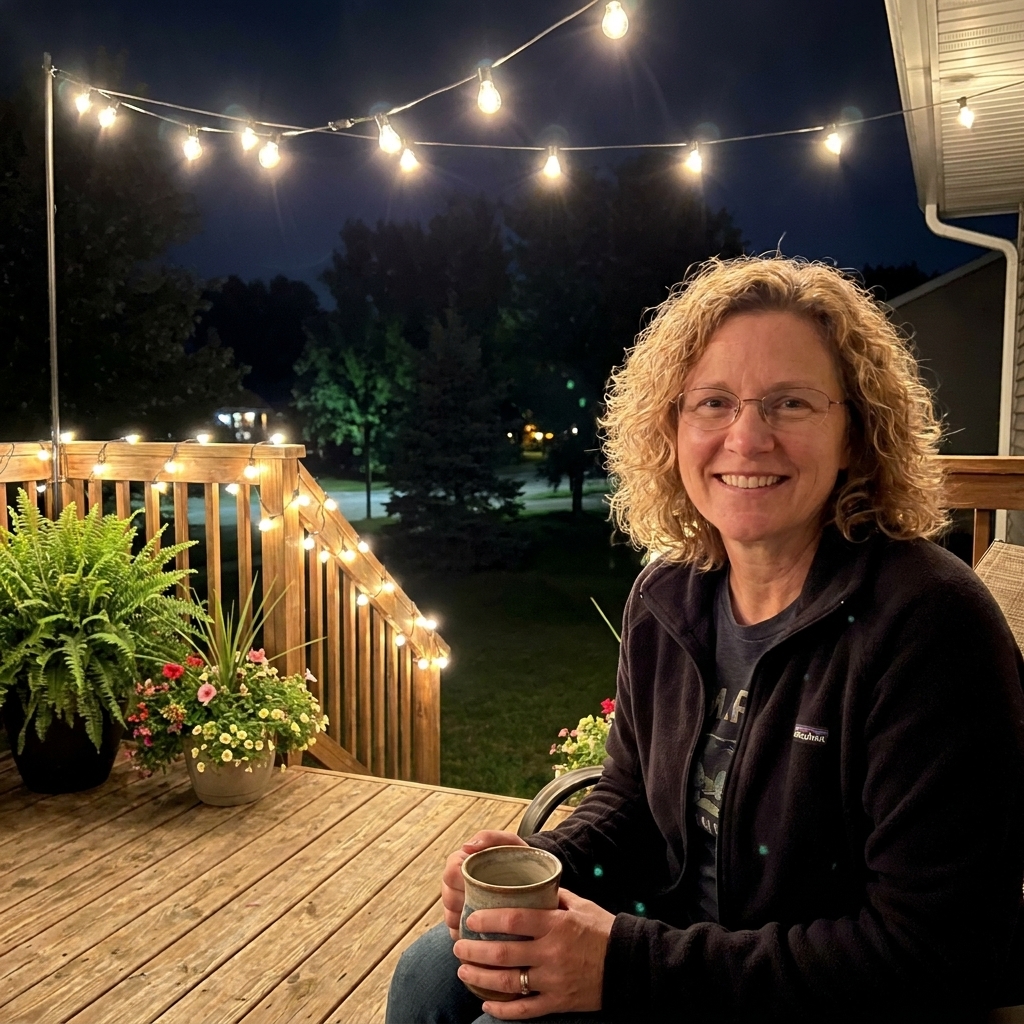
- String lights or bistro lights (sparkle): overhead warmth and instant charm.
- Planter uplights (drama): highlight foliage near stair entrances so the approach feels welcoming.
Common mistakes
- Too much brightness: it looks stark and makes the darker areas feel even darker by contrast.
- Visible LED dots: strips without diffusers can look unfinished up close.
- Glare at eye level: rail lights that shine outward can be uncomfortable for guests seated nearby.
- Skipping the landings: lighting only the middle steps and ignoring top or bottom transitions invites stumbles.
- Mixing color temperatures: a warm stair light and a cool rail light in the same view looks mismatched fast.
- No plan for switching: if it is annoying to turn on, it will not get used.
A simple plan to copy
If you want a straightforward, balanced setup that works on most decks, here is a combo I recommend again and again:
- Under-tread lights on every step for clear footing.
- One gentle light at the top landing and one at the bottom landing (a small downlight or side-mount fixture works well).
- Post cap lights on the main railing posts to outline the deck edge.
- Optional under-rail LED strip on the inside of the main railing run for a soft, continuous glow.
It is safe, it is welcoming, and it feels cohesive without being overdone.
FAQ
Do I need lights on every stair?
For a primary set of deck stairs that guests use often, lighting every step is the most comfortable and confidence-boosting choice. If you want a lighter install, at least light the top and bottom transitions plus several steps in between, then test it in full darkness.
Are solar stair lights bright enough?
They can be, especially in full-sun locations, but they vary widely. Solar is great for outlining and ambiance. For consistent, all-night brightness on busy stairs, low voltage is usually more dependable.
What color light looks best on a wood deck?
Warm white, typically 2700K, complements wood tones beautifully and feels cozy. It also flatters guests, which is always a plus when you are hosting.
How do I attract fewer bugs?
No outdoor light is completely bug-free, but warmer and amber-toned lighting is usually less attractive to many insects than cool, blue-rich light. Shielded fixtures that aim light downward also help, because they keep less light spilling out into open air.
Do I need to think about code?
Yes, especially for line voltage work and any lighting tied into exterior circuits. Local requirements vary, so if you are unsure, check your local building code or ask a licensed electrician. It is a quick step that can save headaches later.
My final takeaway
When your stair edges are clearly defined and your railings have a soft outline, your whole deck feels more inviting. People move more confidently, conversations last longer, and that evening glow makes even a simple landing feel like a destination.
If you are tackling this in phases, start with the stairs. Your future self, and your guests, will thank you the first time you carry a plate of snacks outside after sunset.