
Every fall, I get the same little flutter of panic when the first cold night shows up in the forecast. My porch is full of hardworking summer pots, and suddenly I am doing the mental math of what can stay out, what must come in, and which of my favorite ceramic planters are at risk of cracking.
The good news is you do not need a greenhouse or a fancy setup to overwinter outdoor potted plants. You just need a plan, a few basic supplies, and one unglamorous truth: in my experience, most winter plant problems happen during the transition. This is my tried-and-true routine for bringing tender plants indoors and protecting terracotta and ceramic pots outside.
Start with two quick decisions
1) Is the plant tender or hardy?
If a plant cannot handle frost, treat it as tender and plan to bring it in or take cuttings. If it is hardy in your zone, it can usually stay outside, but the pot itself still needs protection because roots in containers get colder faster than roots in the ground. As a rule of thumb, I treat a plant in a pot as if it is growing in a climate 1 to 2 zones colder.
- Tender (usually comes inside): coleus, begonias, impatiens, caladiums, tropical hibiscus, mandevilla, many porch succulents (note: some are hardy), and many houseplant-style foliage plants that summer outdoors.
- It depends (check your zone and variety): lantana (often treated as tender; some types are root-hardy only in warm zones), rosemary (even where it is hardy in ground, it is much less cold-tolerant in containers and usually needs protection), geraniums (can be brought in or stored dormant).
- Often hardy (may stay outside if zone-appropriate): sedum, heuchera, sempervivum or hens-and-chicks, many small shrubs, some herbs, pansies and violas (in many climates), ornamental grasses. Check your specific variety.
2) Is the pot freeze-safe?
This is where the heartbreak happens. Many glazed ceramic planters and standard terracotta pots can crack when moisture inside the pot freezes and expands. Even “outdoor” pots are not always “freeze-thaw” pots. If you can, look for labeling like “frost-proof” or “freeze-thaw rated,” and remember that not all glazed ceramics are the same. High-fired, frost-rated stoneware is often much tougher than decorative ceramic.
- Highest risk: unsealed terracotta, older ceramic planters with hairline cracks, decorative glazed pots without a freeze-thaw rating, any pot that stays wet.
- Lower risk: thick frost-rated stoneware, fiberglass, resin, plastic, foam, metal (metal can warm up surprisingly fast in direct sun and swing temperatures quickly).
Before frost: prep for indoors
Indoor overwintering is less about “saving every leaf” and more about preventing pests, avoiding shock, and setting expectations. Your porch plants will not look like summer superstar versions of themselves indoors. That is normal.
Check timing
Bring tender plants inside before a hard freeze. A light frost can be survivable for some, but I prefer not to test it. When nighttime lows are consistently dipping near 40°F to 45°F, I start moving the truly tropical ones to a protected spot, then indoors. Hardy annuals and perennials play by different rules, so use this cue mainly for tropicals and tender porch plants.
Know your zone and your porch
If you are unsure what is “hardy” for you, take two minutes to check your USDA zone (or local equivalent). Then factor in microclimates. A covered porch corner is usually kinder than an exposed step, and a spot near the house is often warmer than the yard.
Do a pest check and rinse
Nothing ruins winter plant joy like bringing in aphids or spider mites. Give each plant a quick inspection, especially under leaves and at stem joints.
- Rinse foliage with a gentle spray of water.
- Wipe big leaves with a damp cloth.
- If you see pests, treat outside first if possible. Insecticidal soap is a common option for many plants, but always follow label directions and spot test. Soaps can burn sensitive leaves, especially if applied in hot sun, and you may need repeat treatments to catch new hatchlings.
Trim and tidy
Think “haircut,” not “buzz cut.” Remove spent blooms and leggy growth. For vigorous growers like geraniums, fuchsia, or lantana, a moderate trim makes indoor management so much easier.
Stop fertilizing and ease up on watering
About 2 to 4 weeks before bringing plants in, I slow down fertilizer. Indoors, growth is slower and light is weaker. Too much fertilizer can cause soft, weak growth that attracts pests.
Bring plants inside smoothly
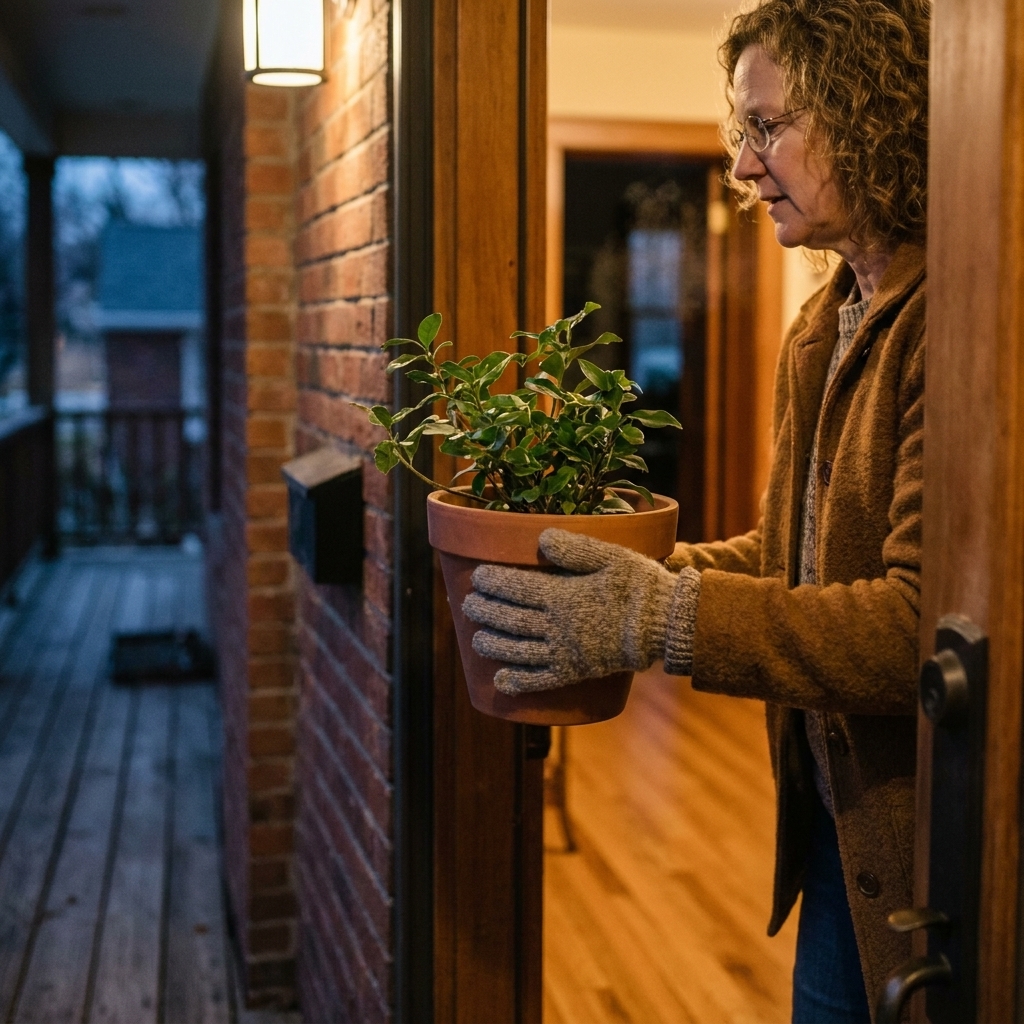
Step 1: Quarantine for a week
If you can, keep new indoor arrivals separate from your houseplants for 7 to 10 days. A laundry room with a window, a bright mudroom, or a tucked-away corner near a window works. This gives you time to catch pests before they spread.
Step 2: Give them the brightest light you can
Most patio annuals and tropicals want more light than the average winter window provides. A south- or west-facing window is ideal. If you have a dim home, a simple grow light can be a game changer, even just for a few hours in the evening.
- Rotate pots about once a week so they do not lean and stretch toward the window.
- Keep leaves from pressing against cold window glass on freezing nights.
Step 3: Adjust watering to indoor reality
Indoors, soil dries differently. Heat vents and low humidity can dry the top inch fast while deeper soil stays wet. The best habit is to check moisture with your finger and water thoroughly only when the plant needs it.
- Water until you see drainage, then empty saucers.
- Do not let pots sit in water.
- Expect to water less often overall than in summer.
Step 4: Increase humidity for fussy tropicals
If you overwinter tropical hibiscus, ferns, or foliage plants, they will appreciate higher humidity.
- Group plants together to create a little humid microclimate.
- Use a pebble tray with water under the pot (pot sits on pebbles, not in water).
- Run a small humidifier nearby if your home is very dry.
Step 5: Set a realistic goal
Not every plant needs to look perfect. Pick the overwintering approach that matches your energy level:
- Keep it growing: best for houseplant-like foliage plants and herbs you use often.
- Keep it alive: best for big patio statement plants you want to save for next year.
- Take cuttings and let the original go: best for coleus, begonias, tradescantia, and many tender perennials.
Shortcuts that work
Take cuttings (my favorite budget-friendly trick)
If you have one gorgeous coleus or a trailing plant you love, cuttings are the easiest way to carry it through winter without hauling large pots inside.
- Snip a 4 to 6 inch piece just below a node.
- Remove lower leaves.
- Root in water or moist potting mix in a small pot.
- Bright light helps, and rotating the pot keeps growth even.
Dormant storage for certain plants
Some plants, like geraniums, can be overwintered in a semi-dormant state in a cool, darker place (think basement or unheated garage) depending on your setup. If you try this, aim for cool rather than freezing (around 45°F to 55°F if possible), keep them from fully drying out, and check monthly for rot or pests.
Stop pots from cracking
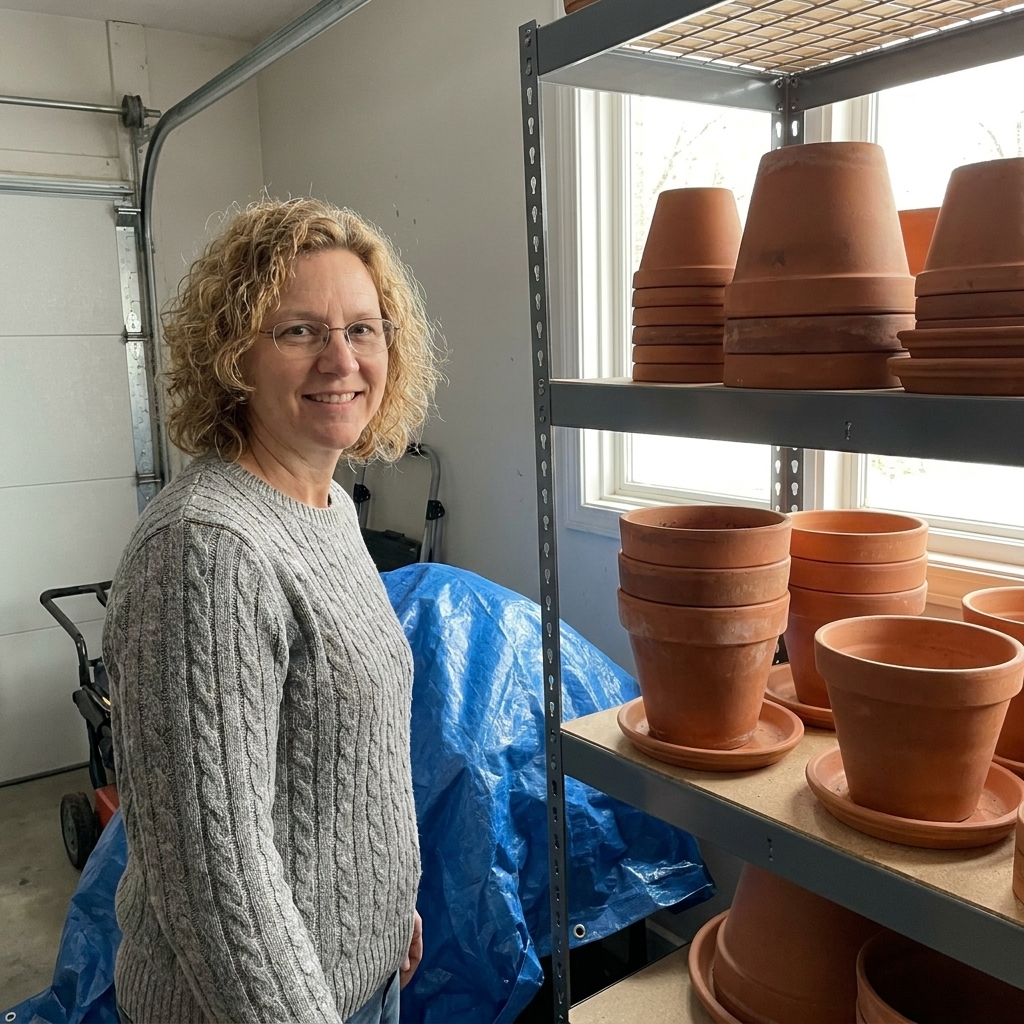
Freeze-thaw cycles are the real culprit. Water seeps into porous material or tiny cracks, freezes, expands, and the pot splits. The goal is simple: keep pots dry and out of repeated freezing and thawing.
Option A: Empty, dry, and store
If you can store your ceramic and terracotta planters, this is the safest approach.
- Dump soil out (wet soil holds moisture against the pot).
- Rinse and scrub off salts and residue.
- Let the pot dry completely.
- Store in a garage, shed, or basement where pots stay mostly dry.
- Do not stack glazed ceramic pot-on-pot without padding. Slip cardboard, old towels, or foam between them.
- If a pot had pests or disease issues, wash it well and let it dry fully before storage.
Option B: Leave outside, but lift and shelter
If storing is not realistic, you can still reduce risk a lot.
- Get pots off bare ground. Use pot feet, bricks, wood strips, or a plant caddy. This helps drainage and keeps the base from sitting in icy puddles.
- Move them under cover. A roof overhang, porch corner, or against a protected wall helps keep rain and snow off.
- Make sure drainage holes are open. Clogged holes trap water, and trapped water is what cracks pots.
- Keep saucers stored away. Saucers collect water that refreezes, right where your pot is most vulnerable.
Option C: Wrap and insulate
If you are overwintering a hardy shrub or perennial in a ceramic pot you cannot move, insulation helps protect both roots and the container.
- Wrap the pot with burlap, old blankets, or bubble wrap, then cover with burlap for a nicer look on the porch.
- If you use bubble wrap, keep it from trapping moisture against the pot. Leave the bottom and drainage area clear so water can escape and the pot can dry.
- Mulch the soil surface with bark, leaves, or straw to protect roots.
- Place the pot in a larger container and fill the gap with straw or leaves for an insulating “pot within a pot.”
- Choose the most sheltered spot you have, away from harsh wind.
Porch note: If you still want your winter porch to feel styled, cluster wrapped pots together, tuck in a lantern, and add a simple evergreen branch arrangement. Functional can still be pretty.
Containers that stay outside
If the plant is hardy but the container is questionable, consider repotting into something winter-proof before cold sets in. Even tough perennials can fail in a pot if the roots freeze solid for long periods, especially for borderline-hardy plants.
Smart outdoor moves
- Group pots together. Clustering creates a warmer pocket of air and reduces wind exposure.
- Use the house as a heat shield. A spot near an exterior wall (not right by a downspout) is usually warmer than an exposed corner.
- Sink the pot if you can. For borderline-hardy shrubs and perennials, placing the entire pot in the ground (or heeling it into a garden bed) can dramatically improve survival.
- Use an unheated shelter. An unheated garage, cold frame, or sheltered shed can be a great middle ground for plants that are hardy-ish but do not love deep freezes in a pot.
- Water once in a while if soil is bone dry. Evergreens and hardy shrubs can still dry out in winter. Water on a mild day when temps are above freezing and the soil can absorb it.
- Skip pruning until spring. Late-season pruning can push tender growth.
Common mistakes
Skipping the bug check
Even a quick rinse helps. Quarantine is your best friend.
Overwatering indoors
Most indoor winter plant deaths are soggy-soil deaths. Err on the side of slightly dry for many plants, especially succulents.
Letting pots sit in water outside
If you remember one thing, let it be this: no saucers outside in winter. Give water a way out, and give the pot a way to dry.
Assuming “outdoor” equals freeze-proof
If a pot is meaningful, expensive, or vintage, do not gamble. Dry and store it.
Quick checklist
- Scan the forecast for the first hard freeze.
- Check your zone, then sort plants into: bring in, take cuttings, leave out.
- Rinse and inspect tender plants, then quarantine indoors.
- Cut back leggy growth and stop fertilizing.
- Empty and dry terracotta and ceramic planters you love.
- Move remaining outdoor pots under cover, elevate them, and remove saucers.
- Wrap and mulch any planted pots that must stay outside.
- Label stored pots and stack saucers separately so spring setup is easy.
FAQ
Can I leave terracotta pots outside in winter?
You can, but it is risky in climates with freezing and thawing. Terracotta is porous and absorbs moisture. If you must leave it out, empty it, keep it dry, elevate it, and place it under cover. For best odds, store it indoors once it is fully dry.
Why do ceramic planters crack in freezing weather?
Moisture trapped in the pot walls, soil, or tiny cracks expands when it freezes. Repeated freeze-thaw cycles create pressure that can split ceramic or terracotta. Keeping pots dry and improving drainage prevents most cracks.
Do I need to repot before bringing plants inside?
Not always. If the plant is rootbound, sitting in exhausted soil, or in a heavy outdoor mix that stays wet indoors, repotting into fresh, well-draining potting mix can help. Otherwise, keep changes minimal and focus on light and careful watering.
What is the easiest plant to overwinter from the porch?
Coleus is wonderfully forgiving, especially as cuttings. Many foliage plants you treat like houseplants in winter also do well, as long as they get bright light and you stay cautious with water.